Lovingly Plantbased
  • Home
    • Who I am and what I do
    • About me
  • Why Plant-based?
    • Vegan v. Plant-based
    • Protein >
      • What is protein? >
        • Amino acids
      • How much protein do we need?
      • Examples of plant-based protein meals
      • Plant-based protein and athletes
      • Protein FAQs
    • Health >
      • Sugar: The legal drug
      • Vitamin B12
      • Vitamin D
      • Iron
      • Calcium
      • The benefits of eating raw
    • Phytonutrients >
      • What colour is your food?
      • Isothiocyanates and cruciferous vegetables
    • Dr. T. Colin Campbell
    • No dairy?
  • Mind, body and soul coaching programs
  • EFT
    • Rosacea Relief
    • EFT resources
  • SKINCARE
    • Skincare Shop
  • Sprouts and microgreens
    • How to grow sprouts
    • Easy mung bean sprouts
    • Easy lentil sprouts
    • Tips for successful sprouting
    • How to grow microgreens
    • How to grow Wheatgrass >
      • Juicing wheatgrass
  • Recipes
    • Plant milks >
      • Almond milk
      • Amaranth milk
      • Brazil nut milk
      • Buckwheat milk
      • Hazelnut milk
      • Hemp milk
      • Macadamia Nut Milk
      • Quinoa milk
      • Toasted Hazelnut milk
      • Toasted Sesame seed milk
      • Sesame seed milk
    • Dairy-free cheese >
      • Basic Cashew Cream Cheese
      • Roasted Garlic & Red Pepper Cream Cheese
      • Cashew and Spring Onion Cream Cheese
      • Roasted Garlic and Chives Cream Cheese
    • Dairy-free Cultured Cheese >
      • Basic Cultured Cashew Cheese
      • Basic Macadamia Nut Cheese
      • Basic Almond Cheese
      • Cashew Chèvre with Lemon Zest
      • Cashew Boursin
      • Almond Chèvre
      • Lemon Zest Almond Cheese
      • Macadamia and Pear Cheese
    • Raw Vegan Crackers >
      • Sprouted Lentil Crackers
      • Sprouted Black Sesame Crackers
      • Almond and Coconut Crackers
      • Sesame Crackers
      • Coconut & Apple Crackers
      • Spicy Flaxseed Crackers
    • Dips >
      • Zucchini & Hemp Hummus
      • Sweet Potato & Garlic Dip
      • Roasted Cherry Tomato Salsa
      • Spinach & Leek Cashew Dip
      • ​Beetroot, Ginger & Garlic Cashew Dip
      • Chickpea Hummus
      • Raw Parsnip Dip
      • Ginger and Sprouted Sunflower Seed Pâté
    • Dressings
    • Breakfast Ideas >
      • Sorghum, hemp and banana pancakes
      • Carob Amaranth Porridge
      • Apple, Oats, Almond Butter
      • Brown Rice and Apple with Hemp and Brazil nut milk
      • Millet and Buckwheat Blueberry Bread Muffins
      • Sweet Potato & Cinnamon Farinata Pancakes
    • Lunch & dinner ideas >
      • Dhal
      • Chickpea Farinata
      • Potato, onion, zucchini & tomato egg-free frittata
    • Veggie burgers >
      • Sprouted lentil, walnut and brown rice burgers
    • Salads & Raw Food >
      • Cheezy Zucchini Noodles
      • Veggie Rolls
      • Mimi's Street Tacos
      • Crunchy Kale Chips
      • Veggie Nori Rolls
    • Soups >
      • Cauliflower, Red Lentil and Potato Soup
      • Black Bean and Corn Soup
    • Desserts >
      • Chocolate Chickpea Truffles
      • Chocolate Mousse
      • Dark Chocolate, Sweet Potato & Black Bean Brownies
    • Smoothies >
      • Blueberry and Hemp Smoothie
      • Purple Passion
      • Orange Joy Smoothie
      • Sweet and Green Smoothie
      • Pretty & Pink
      • Banana Cacao Surprise
  • How to
    • How to juice
    • How to make Rejuvelac
    • How to make Kombucha
    • How to make Kefir
    • How to make Sauerkraut
    • How to make Kimchi
  • Resources
    • Kitchen makeover
    • Books
    • Videos & Documentaries
  • Blog
  • Contact

Lovingly Plant-based Blog

Persimmons - 'Food of the Gods'

10/31/2017

0 Comments

 
Picture
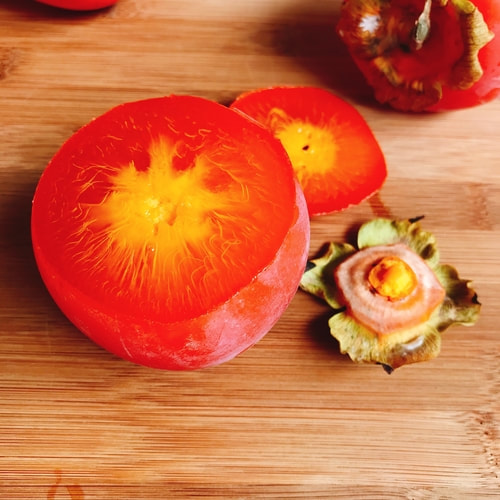
It's autumn & persimmons are in season!
It’s autumn, and this time of year Persimmons are in season. Yay!
The botanical name for his fabulously delicious fruit is Diospyros kaki, which, quite appropriately, is Greek for ‘food of the Gods’.
They are also known as Sharon fruit, but personally I prefer the Greek name ;) 
Picture
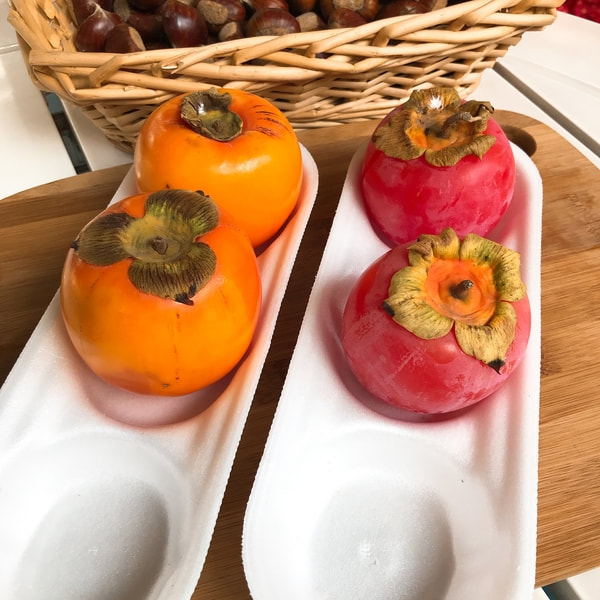
From left to right: Non-astringent & astringent
​Whilst there are several varieties of Persimmons, they basically fall into two categories: astringent & non-astringent and it’s very important that you know which one you’re biting into!

Fuyu

Picture
Fuyu (non-astringent)
​The Fuyu persimmon is non-astringent and can be cut up and eaten like a pear and if it’s not completely ripe it’s still ok to eat. I like them when they are the consistency of a ripe pear.
Picture
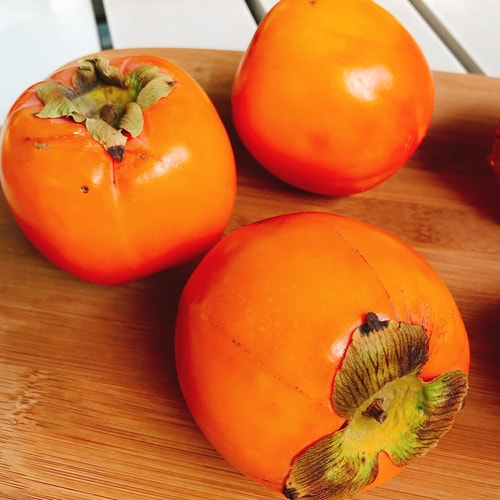
Just cut it up and eat it!

Hachiya

Picture
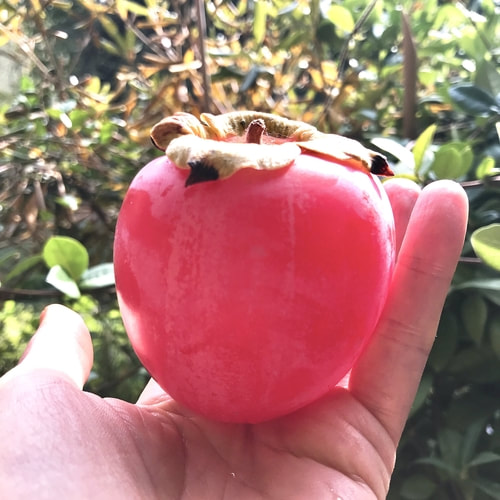
Hachiya (astringent-it must be super soft & ripe before you eat it!)
​My favourite, the Hachiya persimmon, aka Japanese persimmon is, on the other hand, an astringent persimmon and it has to be completely ripe before eating. If you try to eat an unripe one, it will dry all the moisture out of your mouth and put you off persimmons forever. Imagine eating a mushy, but unripe banana and you’ll get the idea. However, if you taste a ripe one, well, it’s like a sweet, fruity, vanilla-jelly dessert, a true ‘food of the Gods’.
​The Hachiya persimmon is ripe when it’s as soft as a squashy water balloon, so don’t be put off by the extreme softness. If it ain’t squishy, it ain’t ready! So leave it to ripen longer! (Don’t say I didn’t warn you…)
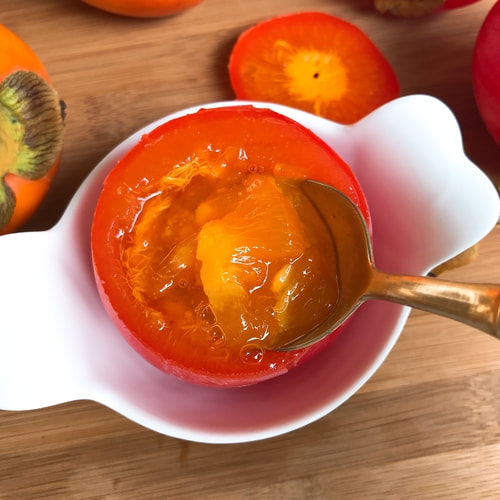
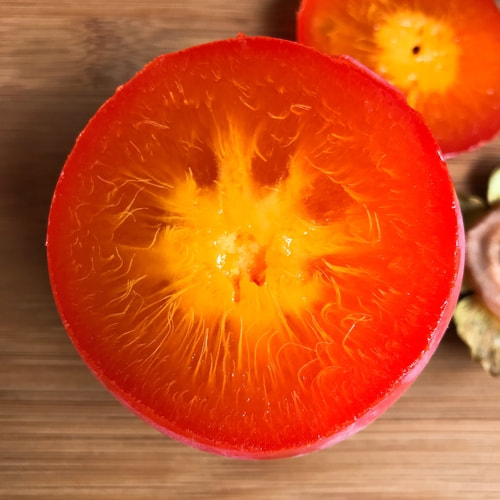
Picture
Pull off the green/brown top
Picture
Slice the top off
Picture
'Food of the Gods!'
​To eat a Hachiya persimmon, just pull off the green/brown top (which will come away easily if the fruit is ripe), slice off the top, sit down, eat the persimmon with a spoon and delight in this amazing culinary delicacy!
​Once you’ve tasted a really ripe one, you’ll be hooked! :)
Picture
Dive in with a spoon!
Picture
Love is....a ripe persimmon!

Nutrition Facts

Not only is this fruit a joy to eat, it’s also bursting with nutrition.
1 cup of Japanese persimmon is:
  • really high in vitamin A = 2733 IU
  • high in manganese = 0.6 mg
  • high in vitamin C = 12.6 mg
  • a great source of dietary fibre = 6 g
​So what are you waiting for? Grab some persimmons today and taste the food of the Gods! :)
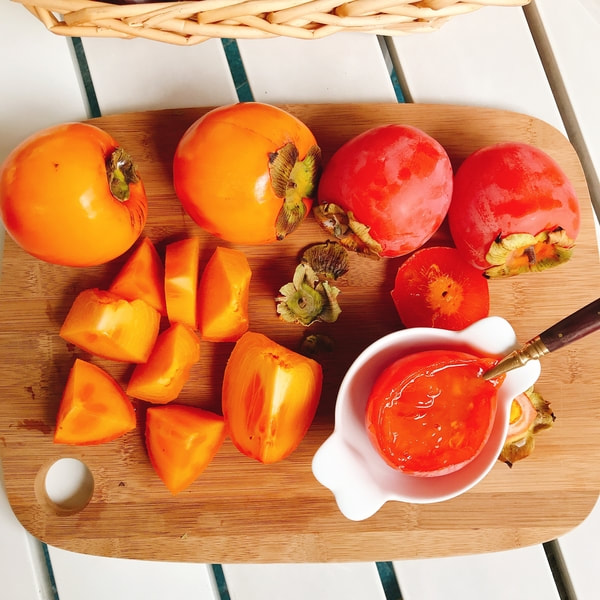
Picture
0 Comments

Lemon-infused water - the weight loss and beauty elixir?

9/27/2017

2 Comments

 
​So what is all this chat about drinking lemon water every morning? Suddenly it seems that everyone from famous actresses to our next-door neighbour has found the miracle cure for weight loss in a glass of warm lemon-infused water.
Is it just hype, or are there any real health benefits?
​Let's take a look!
Picture
Good morning! Rise & shine!

​Stimulates the bowel

This is an important one, so I'm putting it at the top. It's not always something we like talking about, but we should, because regular and complete elimination (pooping) is essential for good health!
​​When we wake up in the morning we are dehydrated after a night’s sleep and no fluids. Our body is literally crying out for hydration and if you sleep in an over-heated room, even more so. Our digestive system has been resting too (hopefully you didn’t have a 10 pm curry….) and it needs to be woken gently. Do you like being dragged out of bed and into work-mode within minutes of starting your day? Me neither. And nor does our digestive system. 2-3 glasses (or more) of WARM water on an empty stomach does wonders for gently waking our digestive system and stimulating the bowel. Ideally the water should be warm. Not cold water, and not hot. 
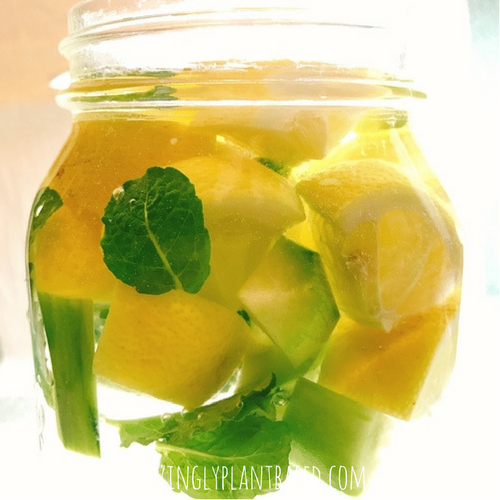
Picture
Lemon, cucumber & mint

​So why add lemon juice?

​Well, apart from being pleasant-tasting and therefore easier to drink than ‘plain old water’, lemons are high in vitamin C, which may boost collagen production, which in turn helps our skin cells renew. It is also a powerful antioxidant. Cut an apple in half and put lemon juice on one half only. Now watch which half turns brown. No prizes for guessing which part stays fresh-looking and which turns brown! Lemons contain limonene, which has antiviral properties and may be useful for keeping colds and flu at bay. 
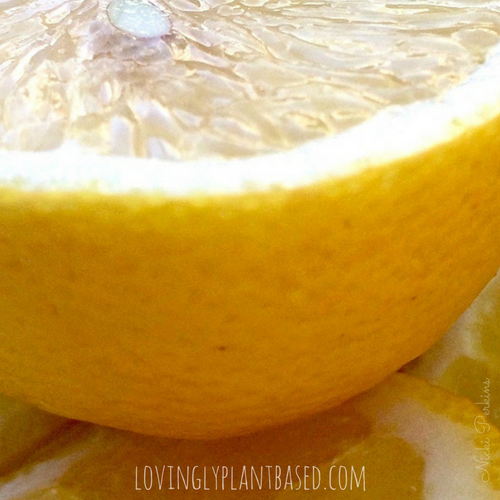
Picture
Lemons are powerful antioxidants

​Alkalinizing 

​Not only are we dehydrated when we wake up, we are also naturally acidic. Lemon juice, even though it is acidic, has an alkaline effect in our body and is said to counteract that overnight acidity. I haven’t found any specific studies that back it up though. The acid-alkaline discussion is one which I will try to delve into another time. 

​Increased metabolic rate

Drinking water on an empty stomach increases your metabolic rate. In a study, ‘Drinking 500 ml of water increased metabolic rate by 30%. The increase occurred within 10 min and reached a maximum after 30-40 min. The total thermogenic response was about 100 kJ. About 40% of the thermogenic effect originated from warming the water from 22 to 37 C.'

​Will it help me lose weight? 

​Whilst the thermogenic effect of drinking warm water on an empty stomach sounds promising, drinking a few glasses of warm water, lemon-infused or not, will not help you lose weight, especially if cappuccino and croissant are on the menu for breakfast. HOWEVER, if those glasses of delicate-tasting water are replacing soda (diet or not), then yes, you’ll be consuming less calories and above all less ‘empty’ calories.
Less empty calories = weight loss

​Bottom line:

Exactly how much nutrition is actually in your lemon water is debatable, but it can make drinking a few glasses of water on an empty stomach easier, and that is our main goal, to drink more!

​How to make lemon-infused water

​A lovely way of having refreshing lemon water in the morning, is to prepare it before you go to bed. 
​In a litre-sized glass jug or a large glass mason jar, add 1 washed organic, or wax-free lemon cut up into pieces. Whenever possible use organic or wax-free lemons since you’ll be leaving the rind on. If you have only got waxed lemons, just remove the outer yellow rind. If the lemon is fresh with a nice thick skin you can do this easily with a vegetable peeler, otherwise it’s easier with a knife. Just cut the lemon into quarters and then cut away the skin.
​Now fill the jug or jar with filtered water, cover with a lid and leave overnight. The next morning you have a lovely, delicate lemon water ready to drink.
Picture
Cover & let it sit overnight
​For added deliciousness, slice a 1-2 inch piece of ginger root and add it to the water, along with some fresh mint leaves.
I usually add a small piece of turmeric root sliced up too or a couple of chunks of cucumber.
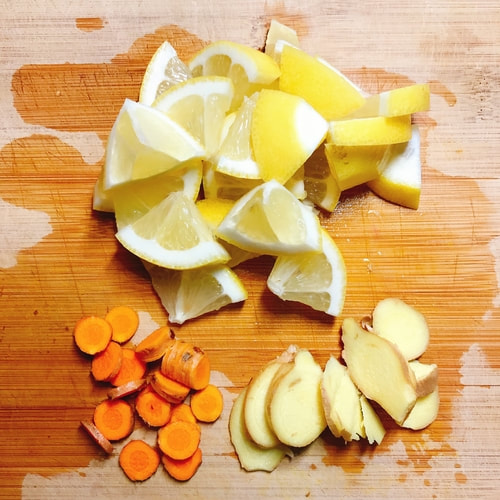
Picture
Lemon, ginger root & turmeric root
​If you forget to prepare your lemon water before bedtime, no worries, just squeeze a little lemon juice into a glass of warm water, but don’t make it too strong, or you might get stomach ache. If you like it strong, don’t forget to rinse your mouth with plain water afterwards, as whilst lemon juice has an alkaline effect on our body, it is acidic on our teeth. Alternatively, you could use a straw!
If you have a delicate stomach and can't handle lemon juice, try limes which are easier on the tummy.
Picture
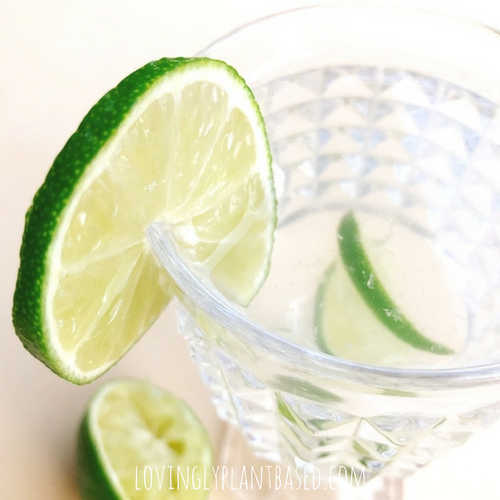
Limes are easier on the tummy

Some additions to your infused water

  • lemon & ginger root
  • orange & cinnamon stick
  • cucumber & mint leaves
  • grapefruit & mint leaves
  • pineapple & mint leaves
Yes, I love mint! :) An alternative could be fresh basil leaves!
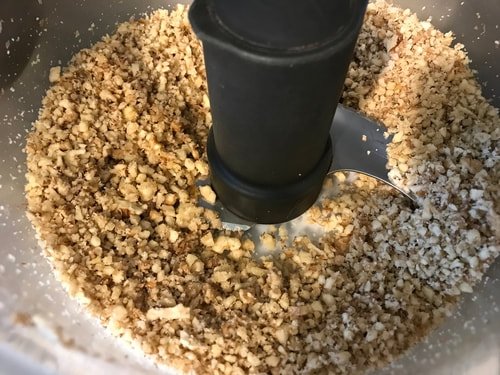
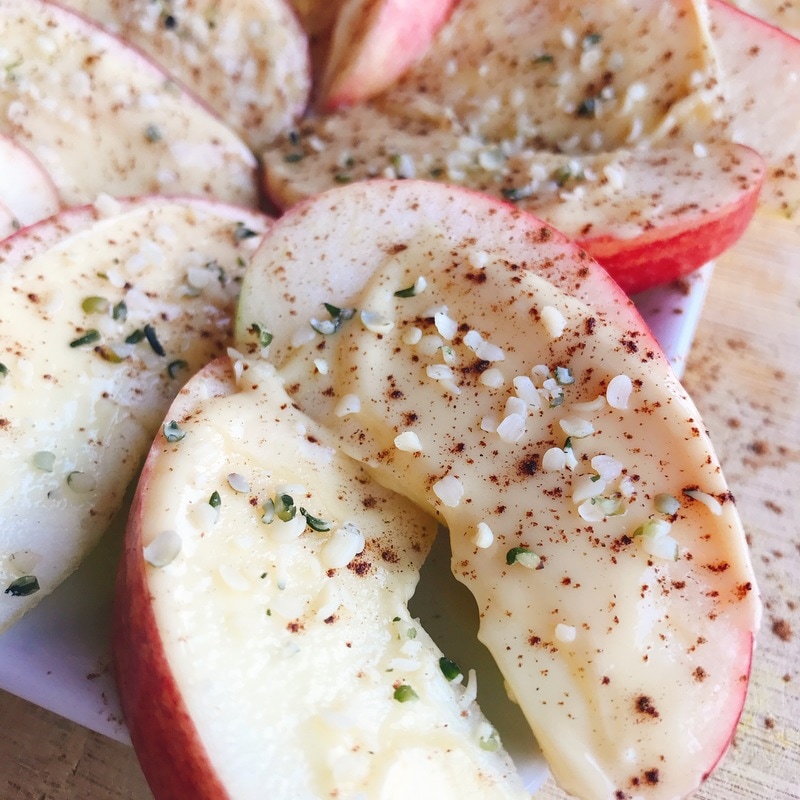
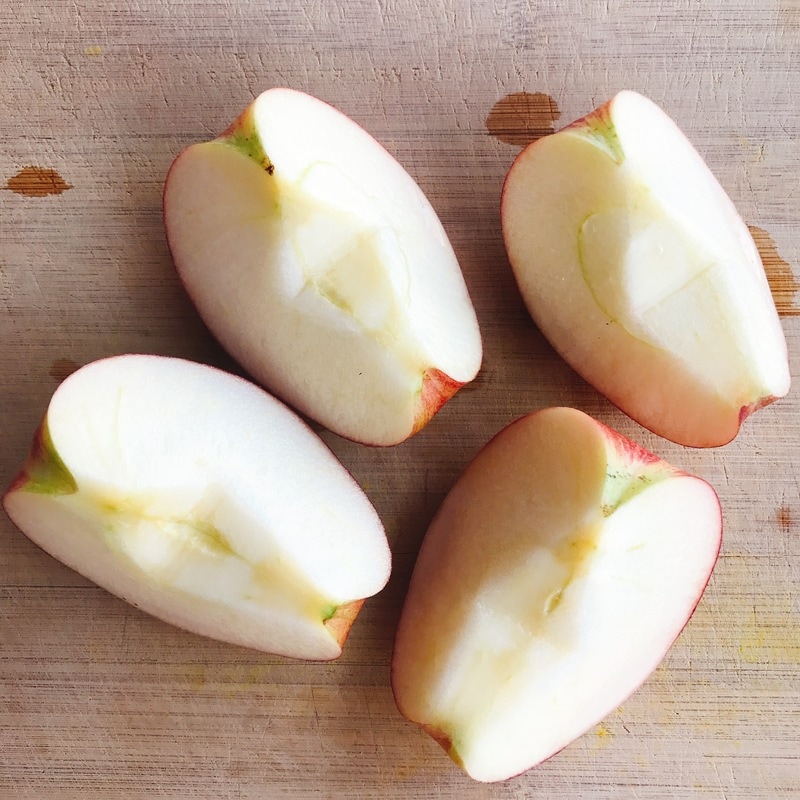
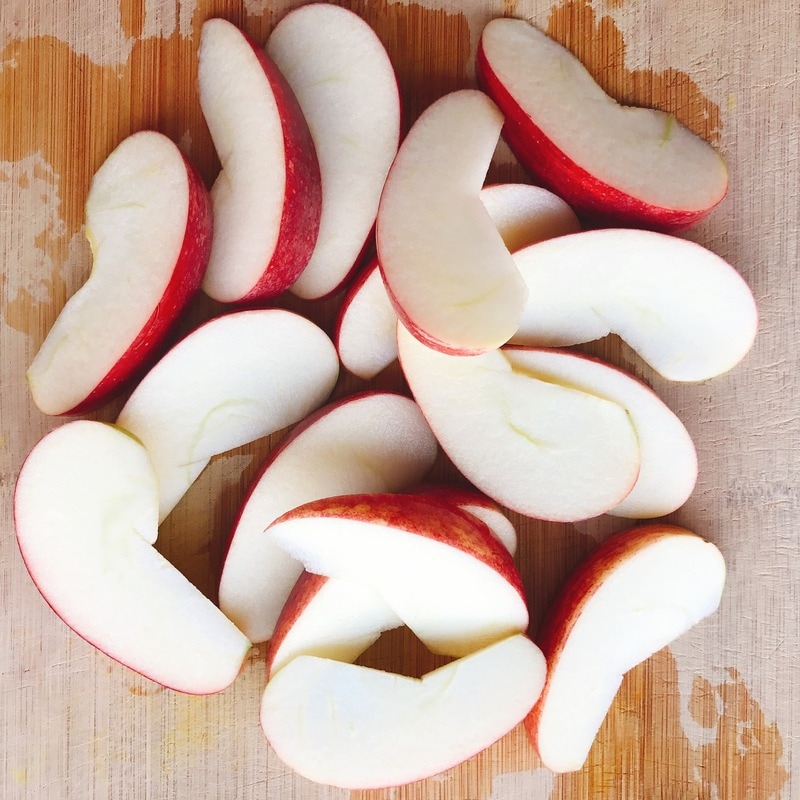
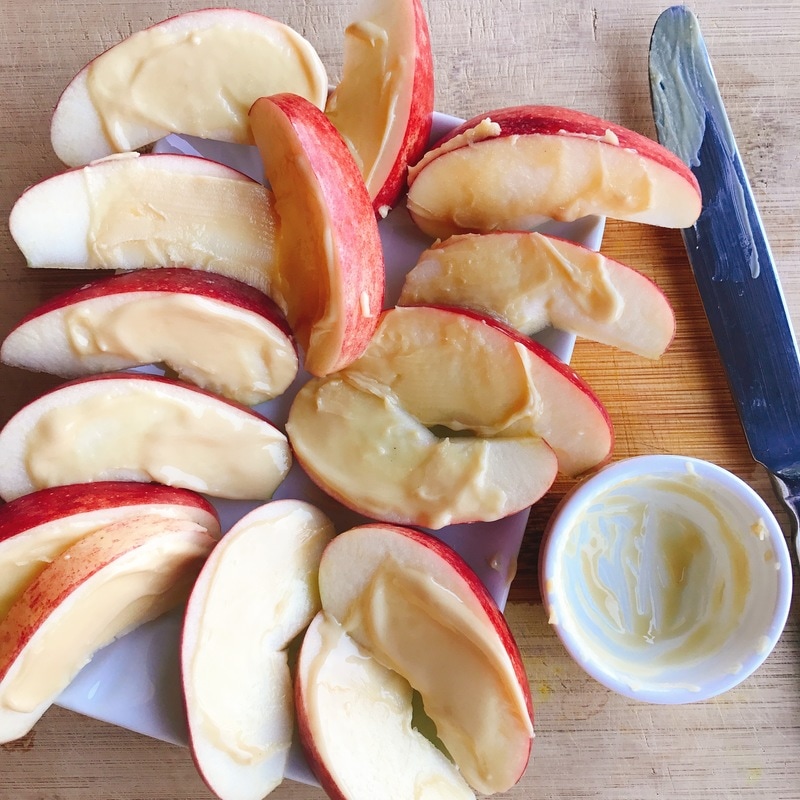
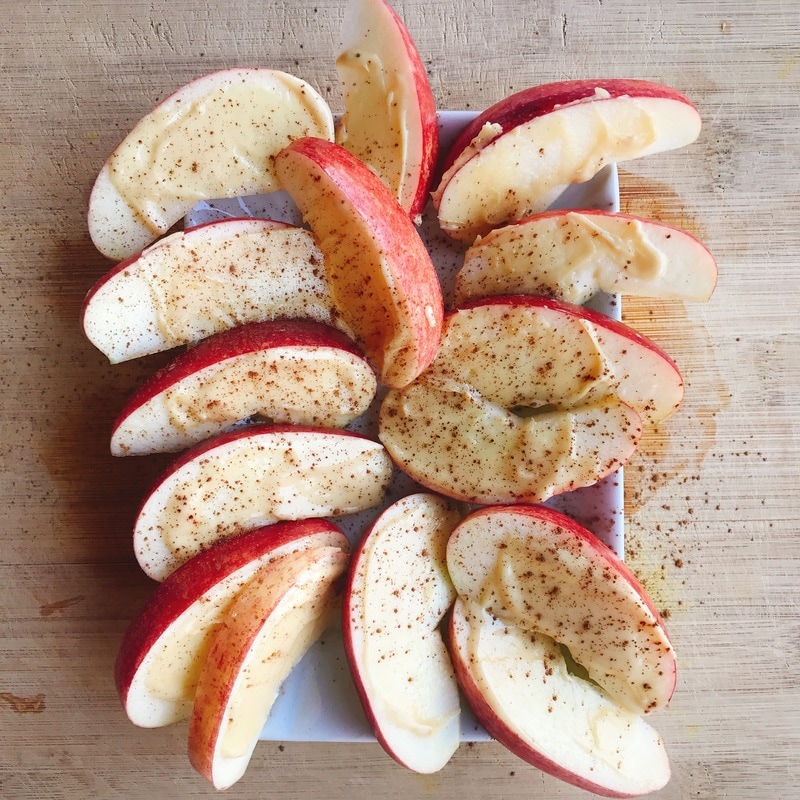
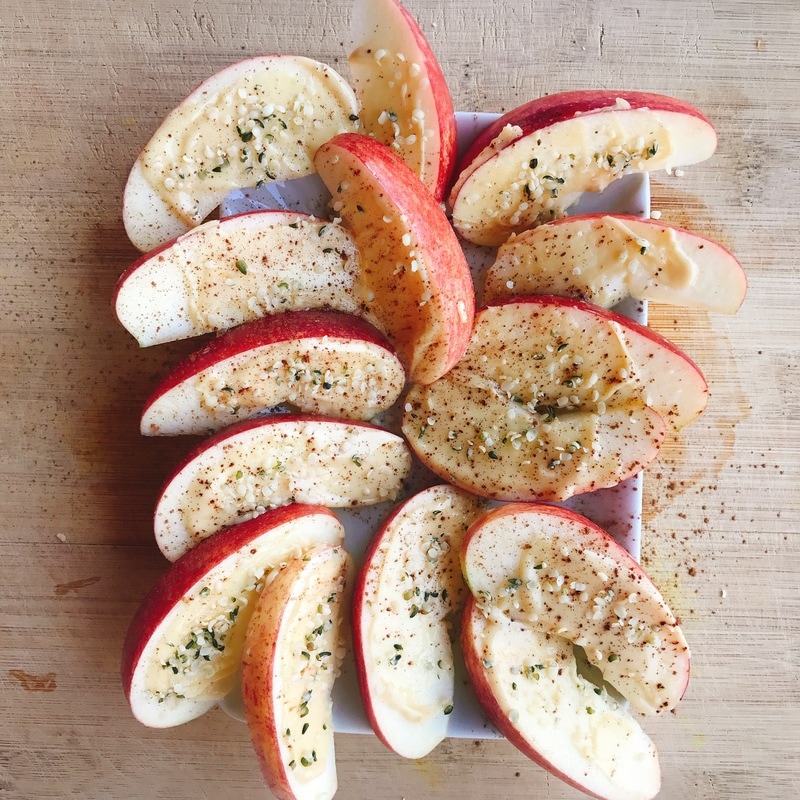
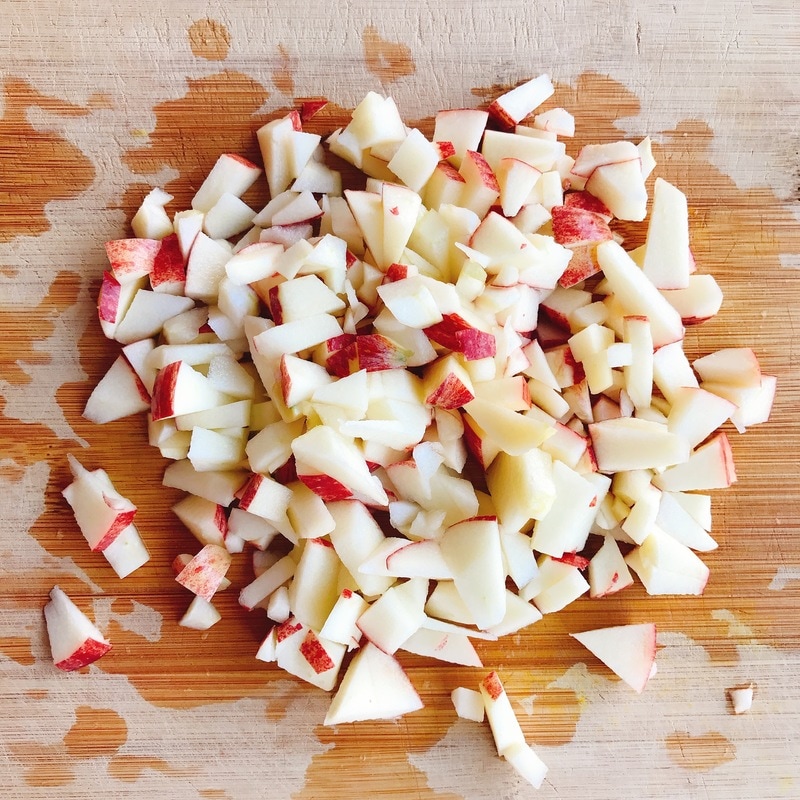
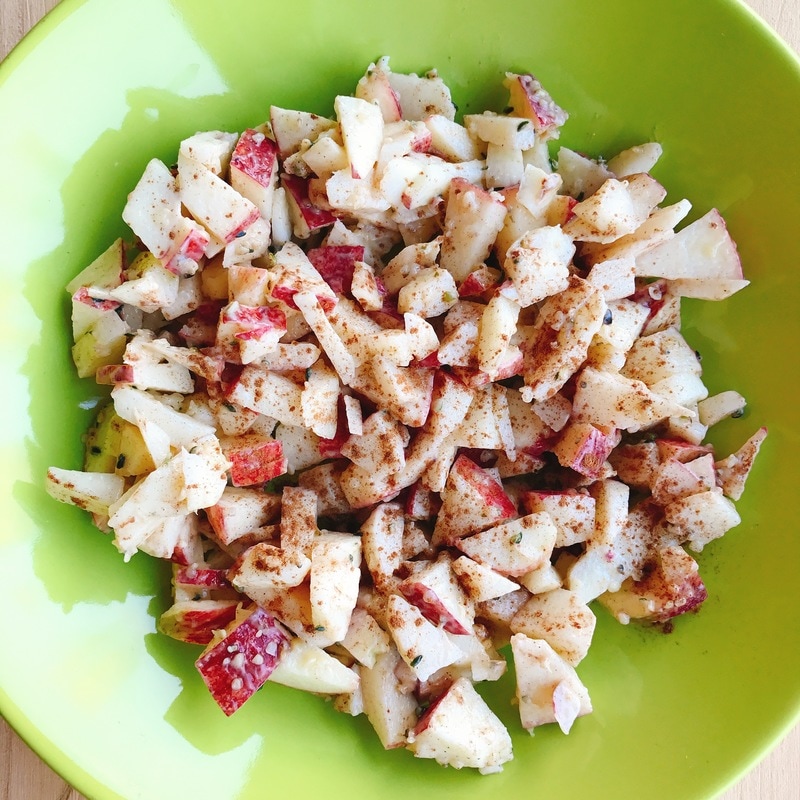
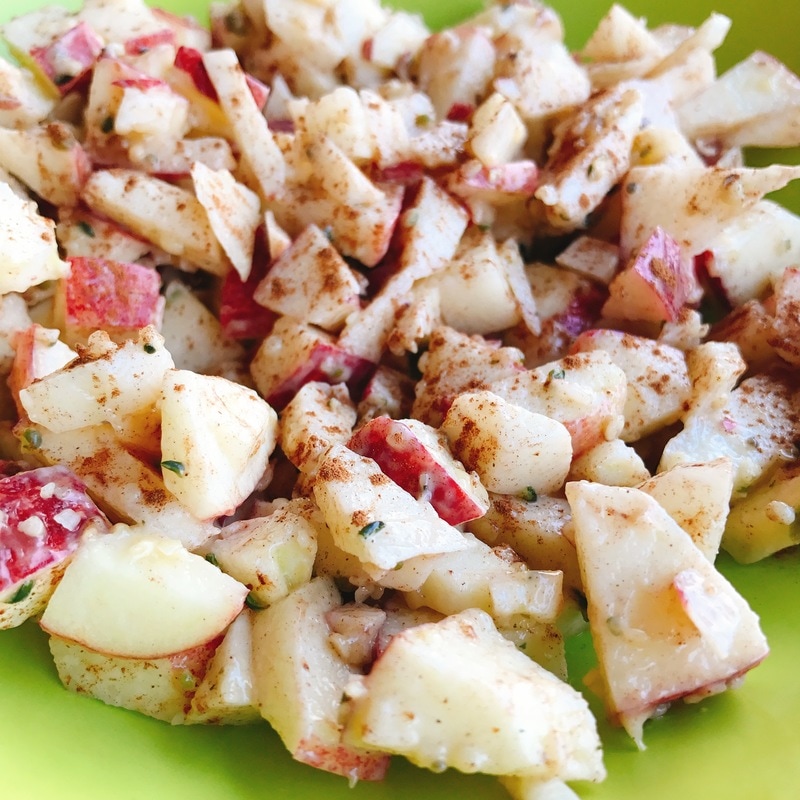
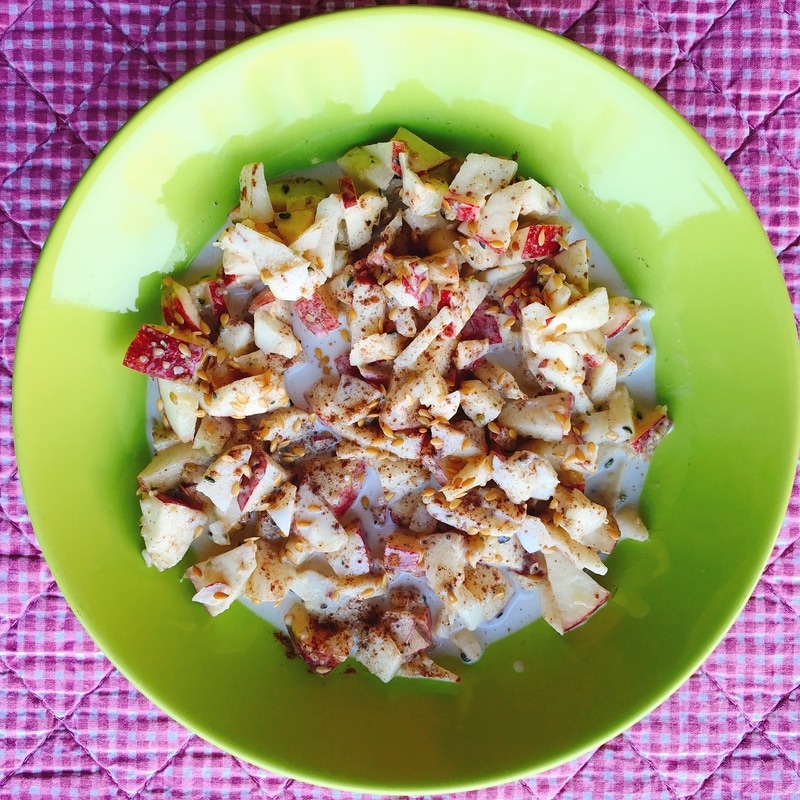
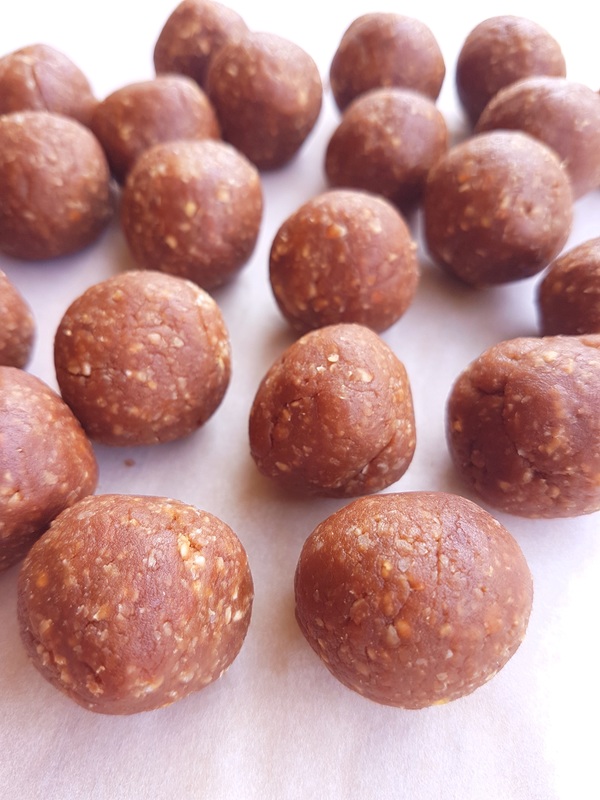
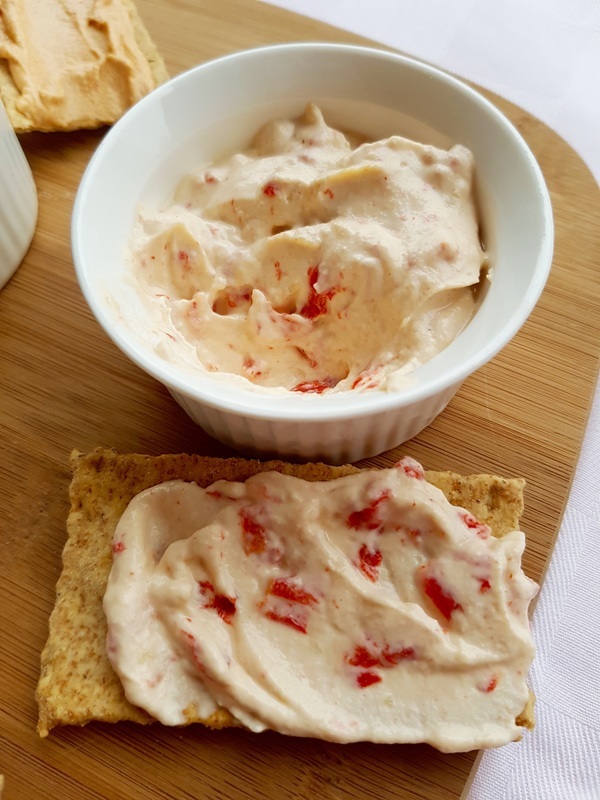
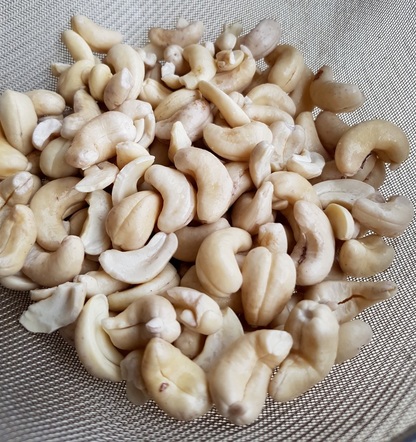
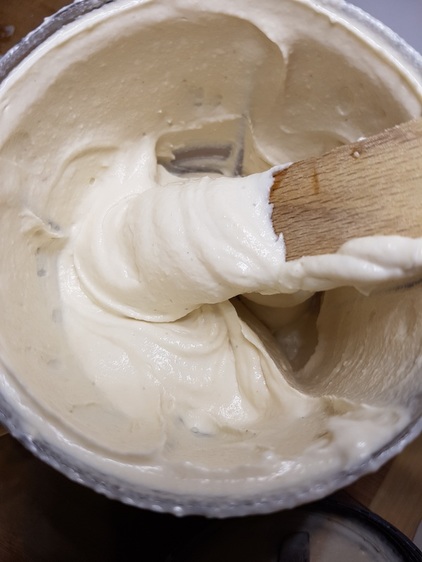
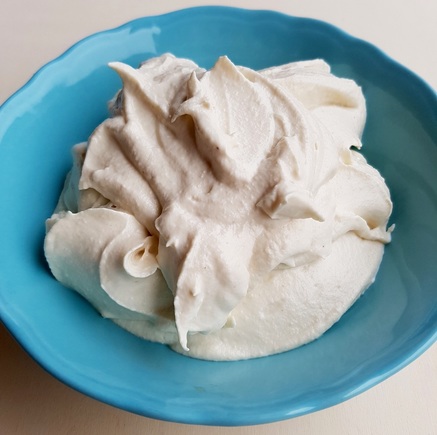
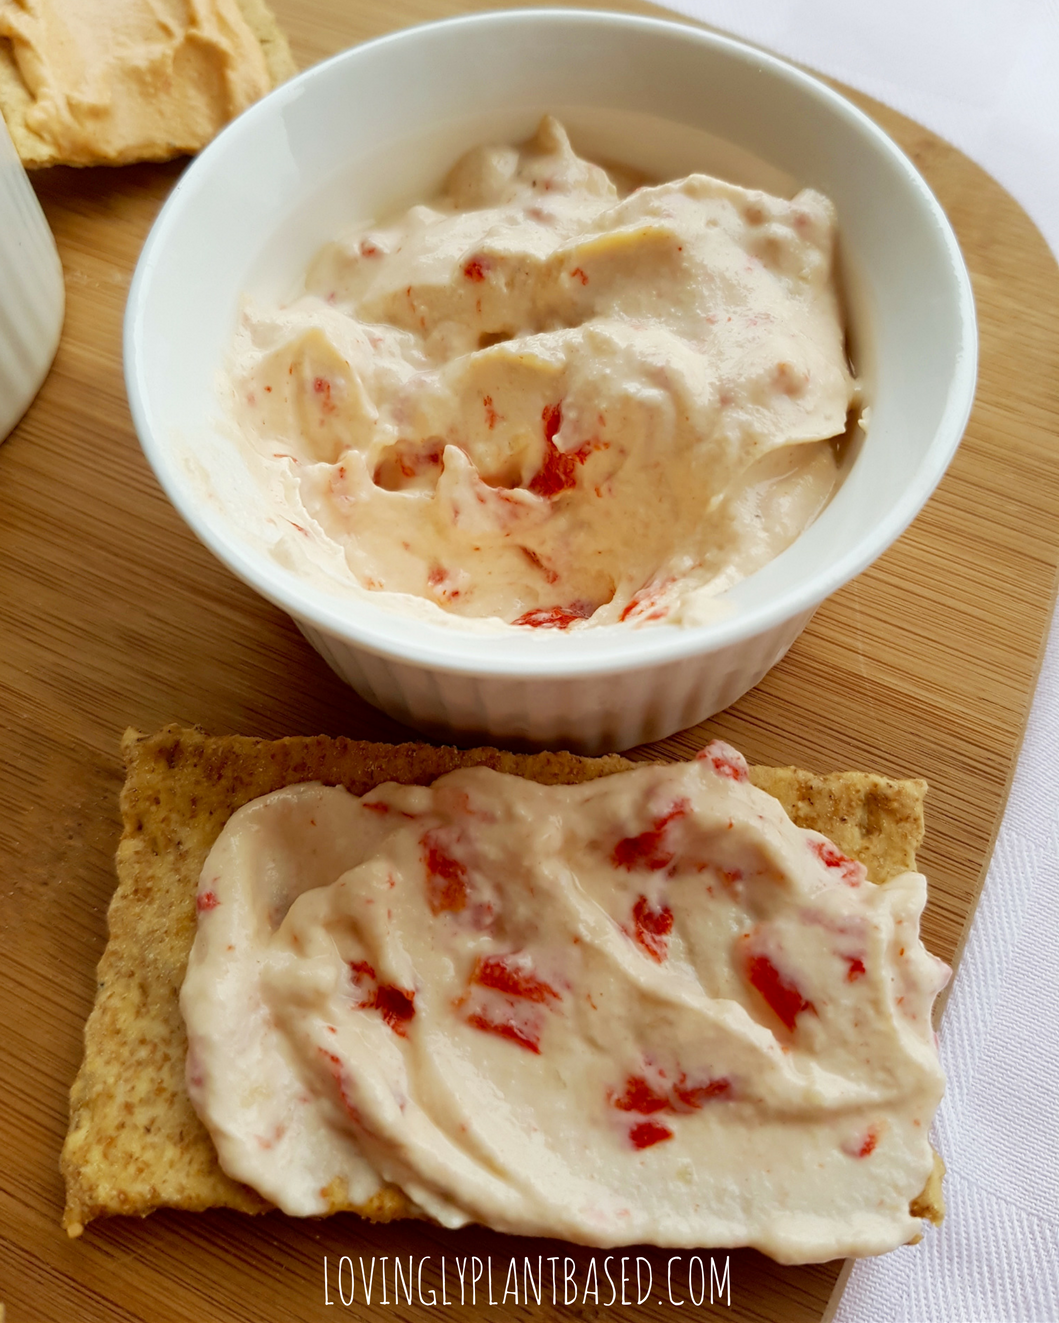
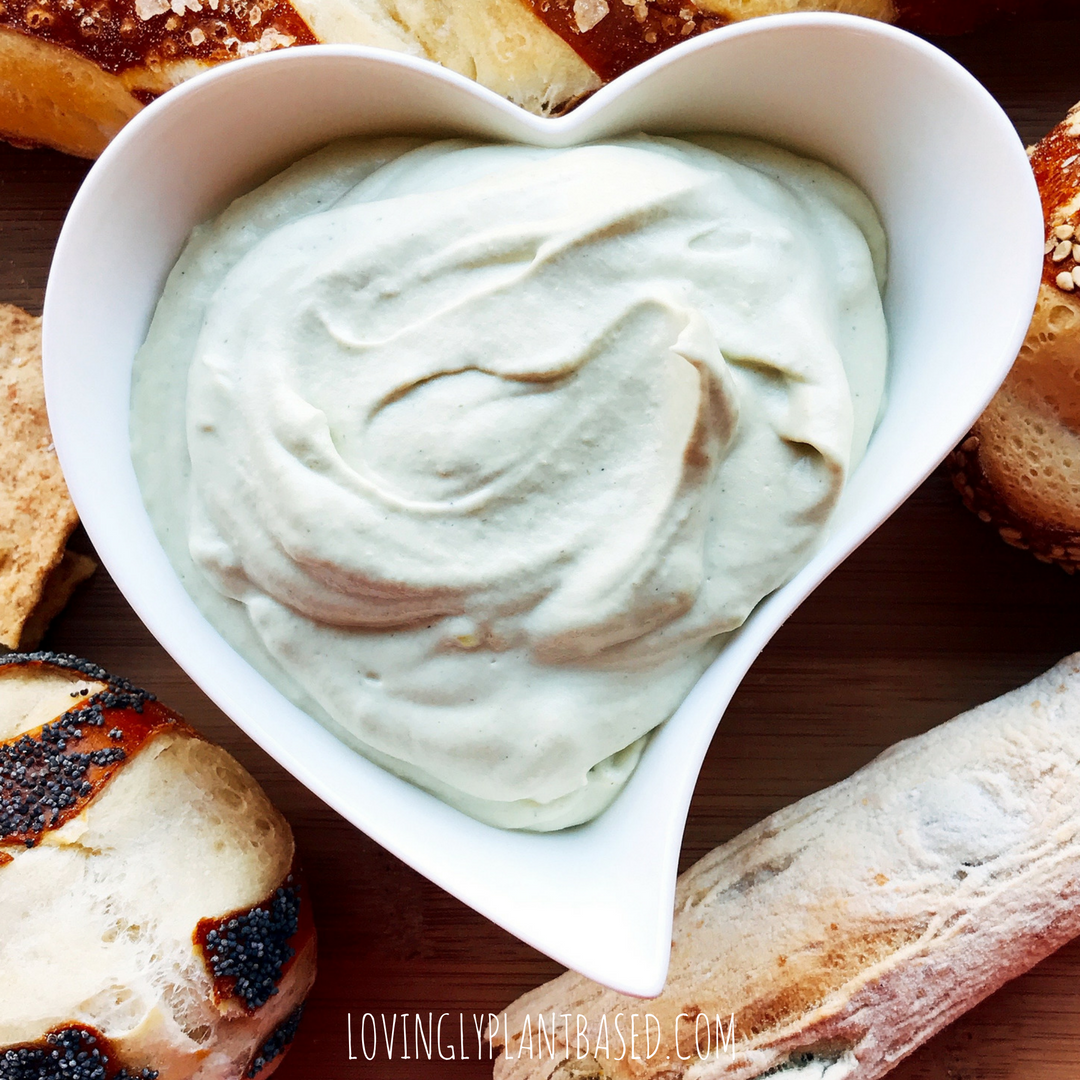
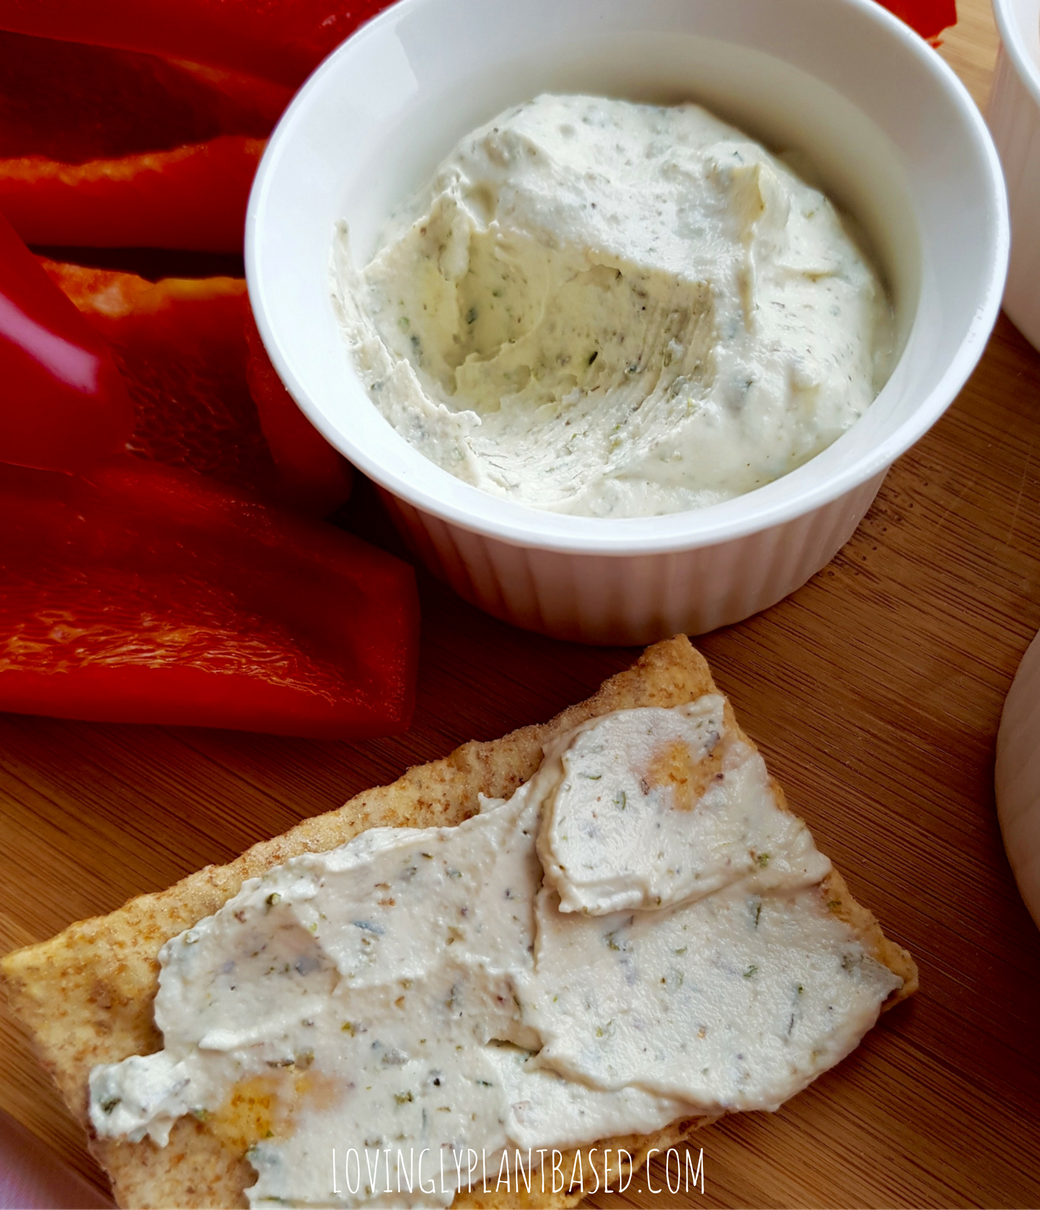
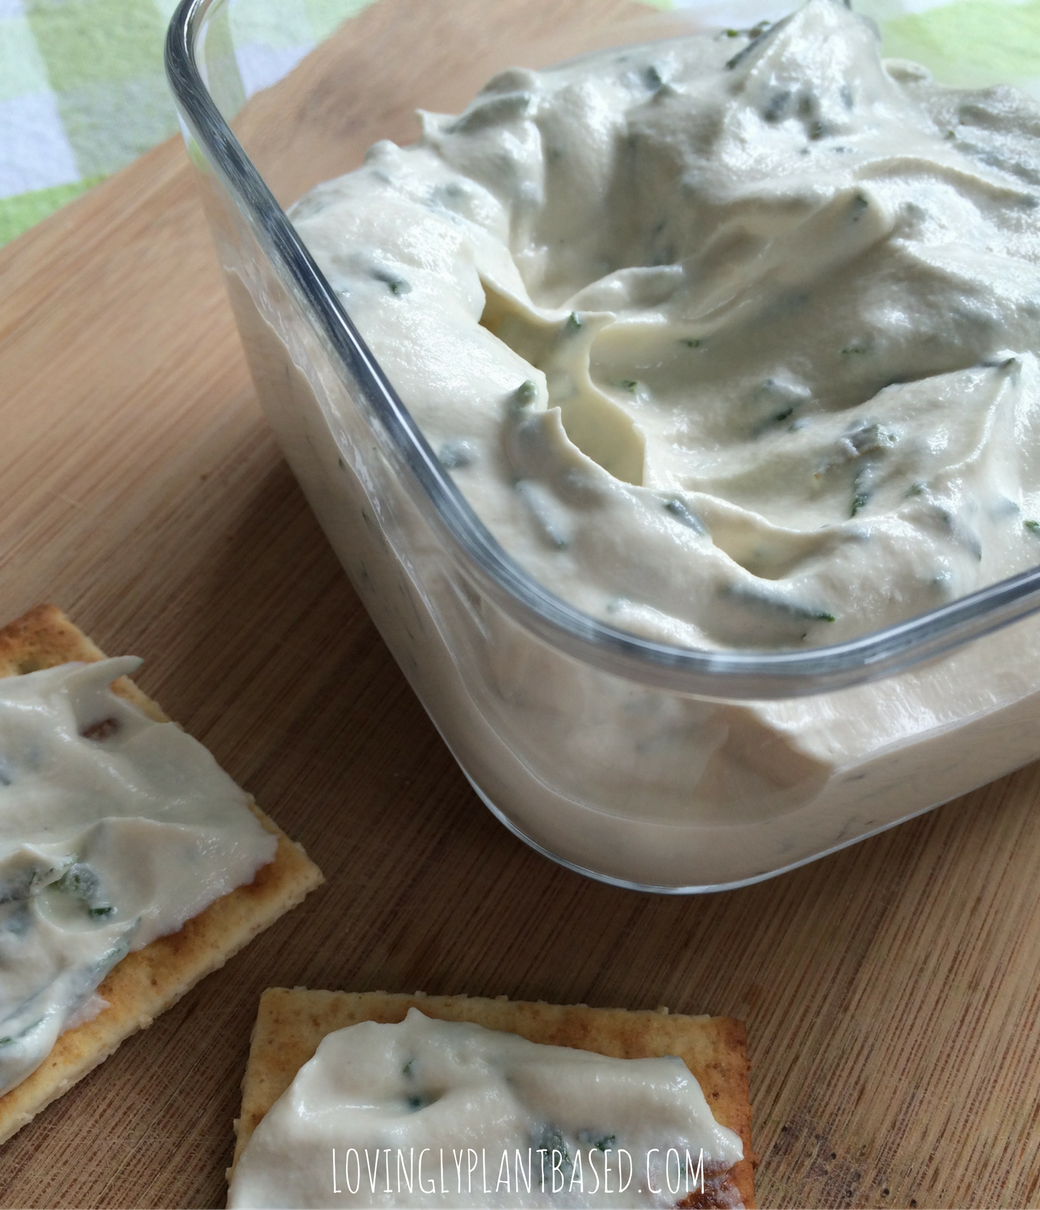
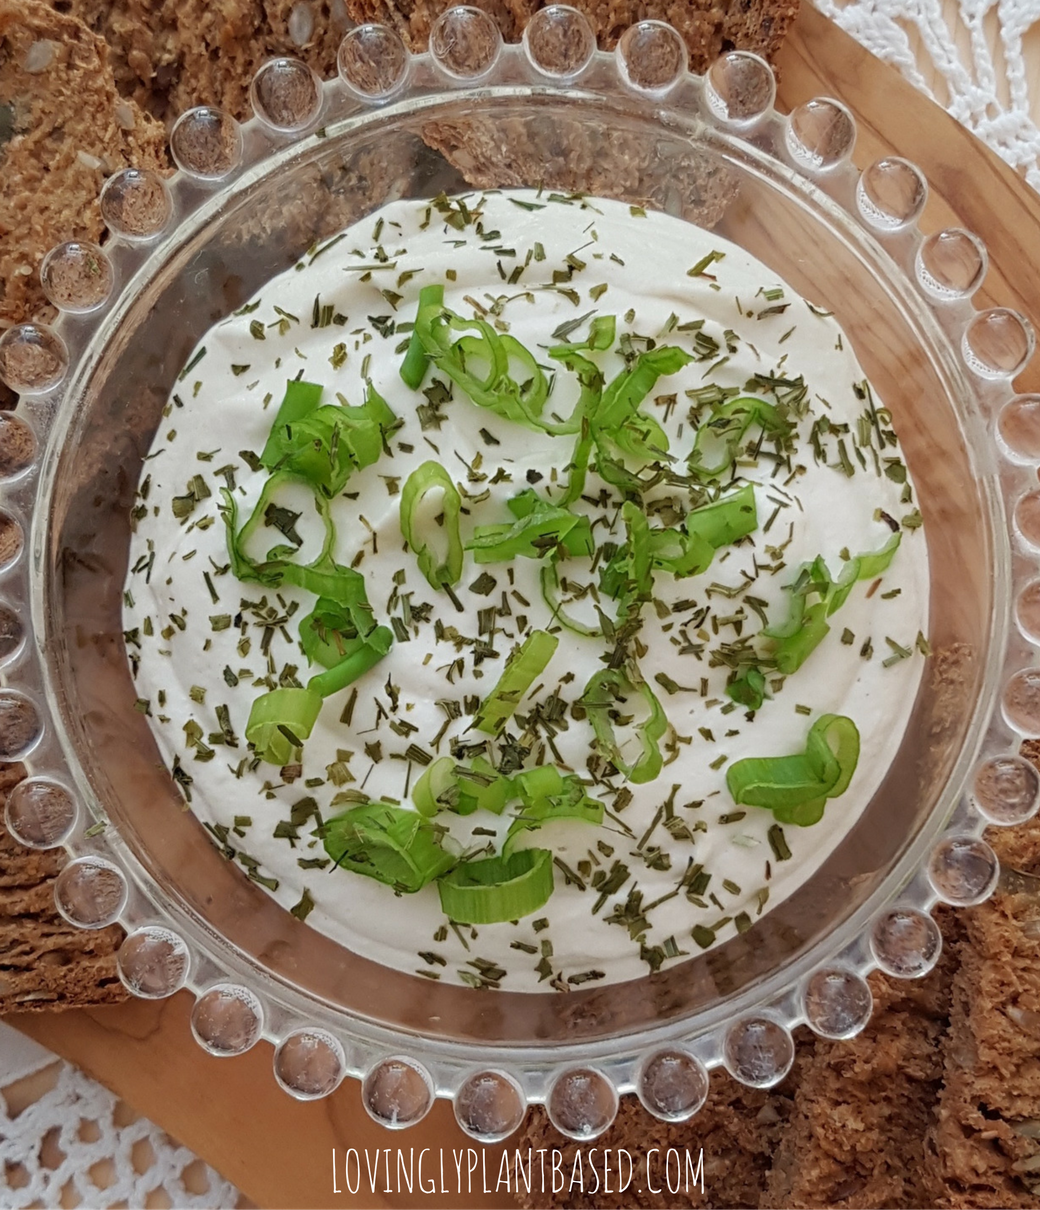
If you're craving a soda during the day, try a glass of sparkling water with some lemon and ginger. In the morning still water is preferable though.
Picture
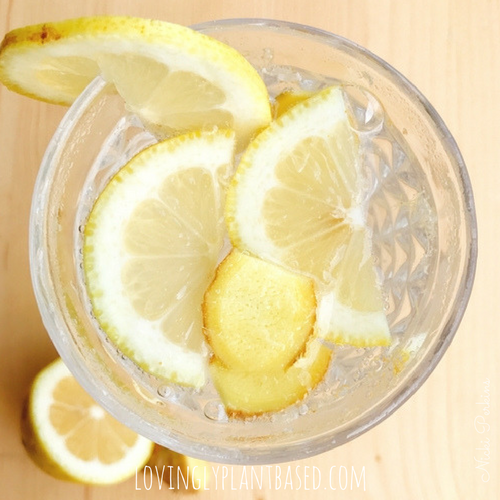
Sparkling lemon water
There is really no limit to what you can add to your water, so get adventurous and experiment! Strawberries, raspberries, mango and pineapple all make a lovely infused water, but in all honesty, I prefer to eat them! :)
Picture
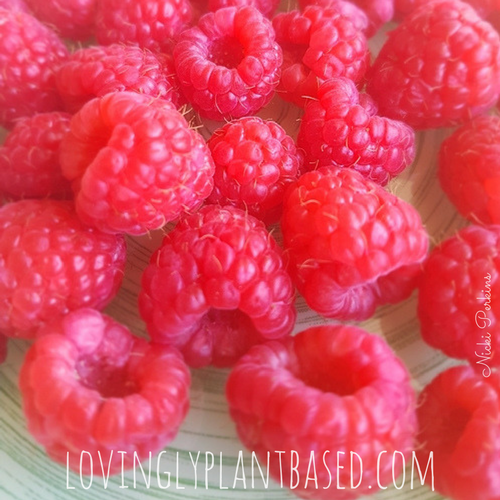
Fresh raspberries - a gift from nature!
2 Comments

I must be crackers....

9/15/2017

2 Comments

 
Picture
I've been making flaxseed crackers for years now, and whilst I love them and they're pretty versatile, I sometimes fancy something a little less, well, less flaxseedy.
So I embarked on a mission to make some decent raw, dehydrated crackers to go with my fantabulous raw vegan cheese. 

They had to have certain characteristics:
- Be crunchy.
- Be tasty, but not TOO tasty. (Don't want them to cover the taste of my fabulous raw vegan cheese!)
- Not be cardboardy.
- Not be too expensive.

Easier said than done.

I followed a few online recipes but they didn't wow me, probably because I almost never followed instructions as written...I never do. I think I'm missing that gene.
I also came up with a few recipes of my own which were pretty awful. Then the other day I started thinking about my lovely sister Jen, and the great big bag of coconut flour I gave her (that I had received as a gift but couldn't carry it back on the plane with me). She had being telling me that she was looking for ways to use this lovely gift. A lightbulb came on and I thought, crackers!
​The first ones I made were alright, in fact they actually grew on me (mind over matter), but they weren't exactly worthy of posting. However, since they were so easy and so quick to make, I made them again until I tasted something I really liked.
I threw some apple purée into the mixture, rolled out the dough, stuck it in the dehydrator and went to bed.
This morning I tasted them.
Yessssss.
Result? A light, crunchy, slightly sweet, coconut cracker. :) They probably won't win any awards in the cracker world, but for me, they're a winner. :)
The next success was the sesame seed crackers. You know those sesame crackers that are made with syrup and sesame seeds? (Probably high fructose corn syrup or something horrendous) I wanted to make a healthy version and not so sweet.
Result? Well let's just say that I'm going to need to make a bigger batch next time as they're SOOOOO delicious!

Hop on over to the crackers page for these and other recipes and why not pop over to my Facebook group, Plant-based Nutrition, Health & Wellness for more chatter, tips and news! See you there!
Picture
With fabulous Almond Chèvre
2 Comments

Have you had your 'apple a day'?

1/19/2017

1 Comment

 
Picture
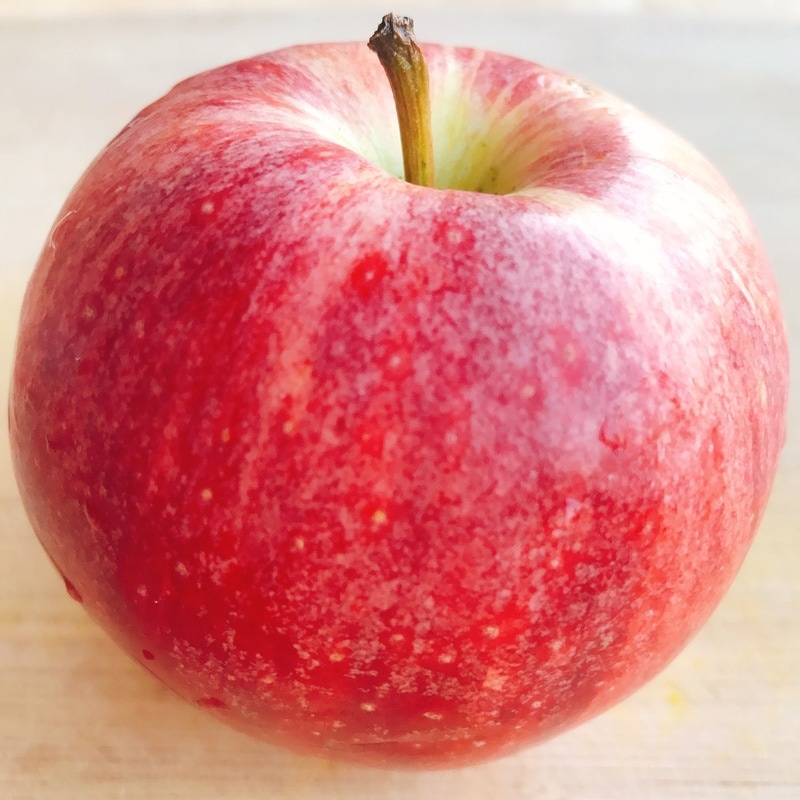
'An apple a day keeps the doctor away', so the saying goes. In fact the benefits of apples have now been well-documented. Numerous studies have shown that apples have antioxidant properties, they lower bad cholesterol, regulate blood sugar, have protective properties for lung health and possibly inhibit cancer cell growth.

So we know we should be eating more of them, but are you really eating one a day?
I love apples. I'll have them for breakfast, snacks, put them in salads, smoothies, even in tempeh dishes. I also find them to be the ideal travelling snack. They are perfect to have on hand when hunger strikes and there is nothing good to eat on the horizon. And they're so handy. I just throw a few in my bag (not literally), and I'm ready to go.
Once, while waiting for my hand baggage to go through the airport x-ray machine, the guy checking the monitor commented on the five apples he could see in my bag. "You like apples, eh?"
(It was a long journey!)

However, whilst I am one of those irritating people that eats the whole apple, including the core, (waste not, want not) I appreciate that for some people sometimes apples can be, well, dare I say, boring? 

So here are two ways to make your 'daily apple' more joyful, tasty and more filling.
Oh and remember, if you're not hungry enough to eat an apple, then you're probably not really hungry at all ;)
​
Mimi Kirk's 'Apple Sunrise' inspired me for these recipes. 

Almond Butter, Cinnamon & Hemp
​Apple Slices

Picture
Almond butter, cinnamon & hemp apple slices
  • First of all, wash your apple (preferably organic, skin left on), cut it into quarters, and then again and again until you have slices about 1cm thick.
  • Squeeze a little lemon juice onto the slices, to stop them from turning brown. Not a lot, just a little.
  • Put 1 tablespoon of soft almond butter into a small dish and spread it on all the slices. One tablespoon should be enough.
  • Sprinkle with cinnamon and shelled hemp seeds (aka hemp hearts). If you can't find hemp, use sunflower seeds. Hemp works best because the seeds are small and stick to the apple. ;)
The protein from the almond butter and hemp will keep hunger pangs at bay for longer.
Enjoy!
Picture
Cut the apple into quarters
Picture
....and then into slices about 1cm thick, no more
Picture
Spread 1 tablespoon of almond butter onto the slices
Picture
Sprinkle with cinnamon
Picture
....and shelled hemp

Chopped Apple with Almond Butter, Hemp, Flaxseed & Almond Milk

Picture
The same ingredients, plus flaxseed and almond milk. Eat with a spoon like you would cereal. It's seriously delicious!
  • Wash and slice the apple as in the recipe above, then chop it into small pieces, as small as you can. Squeeze a little lemon juice onto the apple pieces.
  • Add 1 tablespoon of soft almond butter and mix together well, covering all the apple.
  • Sprinkle with cinnamon and shelled hemp seeds. Top with a teaspoon or less of whole flaxseed. A few chopped walnuts on top give you some extra Omega-3s and extra crunch!
  • Pour some almond milk (or a plant milk of your choice) over the chopped apple, and enjoy!
Picture
Chop up the apple into very small pieces
Picture
Mix in 1 tablespoon of almond butter, a sprinkling of cinnamon and some hemp seeds
Picture
Picture
Top it with some whole flaxseed and almond milk
Picture
Delicious!
1 Comment

Chocolate Chickpea Truffles

12/7/2016

1 Comment

 
Picture
​These yummy truffles are easy to make and nobody will ever guess that they are made with chickpeas! 
​The melted chocolate is the only fiddly bit, but it's well worth it!
I originally used agave syrup for this recipe, but since agave is usually highly processed, I think maple syrup is a better alternative.
This recipe makes about 20 medium-size truffles, or 40 bite-size ones.

For the truffle mixture you will need:
-1 cup rolled oats
-3/4 cup cooked, drained chickpeas (canned is fine)
-1/2 cup cashew butter
-1/4 cup maple syrup
-1 tablespoon raw cacao powder
-pinch salt

For covering the truffles:
-1 bar of dark (85%), dairy-free chocolate

For decorating the truffles (optional):
-A few goji berries
-Hemp seed
-Chopped nuts
-Cayenne pepper

 
In a food processor mix the truffle mixture ingredients together until they form a ball.
Picture
In a food processor mix the ingredients into a ball.
​Take the ball of truffle mixture and divide it into 2 equal parts. Then divide it into 5 parts, then split them again. You now have 20 pieces.
For smaller truffles, divide them once more and you’ll end up with 40 bite-size truffles.
​Use your hands to roll the pieces of mixture into little balls.
Set aside.
Picture
Form 20 medium-size or 40 bite-size balls.
​In a small pan break the bar of chocolate into pieces and melt them over a low heat.
Dip and roll the balls into the melted chocolate and cover them completely.
Picture
Roll the balls in melted chocolate & place on parchment paper.
​Place them on a parchment paper covered baking tray or directly into little paper cups.
Picture
Or put the chocolate-covered balls in little paper cups.
You can leave them plain, or decorate them.
Some ideas for your chocolate truffle topping:
  • Goji berries
  • Hemp seeds
  • Chopped nuts
  • Cayenne pepper
Picture
Decorate the wet chocolate with goji berries, hemp seeds...
Picture
Or sprinkle some cayenne pepper.
Picture
Freeze for about 20-30 minutes, then transfer to the fridge.
​Store the truffles in an air-tight box.
Picture
Freeze for about 20-30 minutes.
Picture
Picture
Give some love!
1 Comment

Vitamin D - The S​unshine Vitamin

11/30/2016

0 Comments

 
Picture
Vitamin D is a hot topic at the moment, and whilst not everyone agrees on its possible benefits and there is still some debate on just how much we should be getting, one thing is for sure, a lot of us our vitamin D deficient. In fact it is a worldwide problem and over a billion people throughout the world are not getting enough of this vitamin. ​
Read more...
0 Comments

Plant-based Cheese

11/24/2016

1 Comment

 
Picture
​In the days when I ate dairy, cheese was my ‘junk’ food, my ‘stand-in-front-of-the-fridge-and-eat’ thing. I ate it. Lots of it.
Then I read Dr. Campbell’s ‘The China Study’, and I decided that whilst cheese was my guilty pleasure, it had to go, and so Bitto, Parmesan, Gorgonzola, Pecorino, to name but a few of my ex-guilty pleasures, were banned from my fridge. A case of, I love you, but I love me more.
And so my quest for cheese substitutes began.
 
I soon discovered that when you follow a plant-based diet you become more creative with your cooking. Whilst I was happy to ditch the dairy, I still wanted something ‘sort-of-cheesy’ to spread on my home-made crackers.
I mean, what are crackers for if not for spreading something cheesy on, I ask?

Picture
ROASTED GARLIC & RED PEPPER
With a little bit of creativity you can come up with some really tasty ‘cheeses’ and spreads. Dairy-free, gum-free, additives-free, not to mention heart-friendly and generally bloomin’ delicious.

Lovingly Plant-based
Basic ​Cashew Cream Cheese

​This is the basic recipe I use for plant-based cream cheese. Cashews are perfect for blending as they make a velvety smooth cream and have a mild flavour that works well in both sweet and savoury dishes.
 
Once you are familiar with the basic cream cheese recipe and its taste, get creative!
I sometimes use kombucha instead of water, which gives the cheese a distinctive “bite”, and occasionally I use Rejuvelac for added probiotics.
 
Cashews are very high in copper, which aids the immune system, helps make red blood cells and also helps form collagen. Cashews are also a good source of magnesium, which together with calcium and vitamin D, is essential for healthy bones.
 
Always buy raw cashews and as with all nuts and seeds, store them in the fridge or a cool place.
The recipe:
(Makes about 1 & 1/3 cup of cream cheese base)
  • 200g (1.5 cups) raw cashews (soaked 4-12 hours)
  • 2 tablespoons lemon juice
  • ½ teaspoon salt
  • 1/3 cup water
How to:
Soak the cashews overnight or for at least 4 hours. Don’t soak them for more than 12 hours as this will result in a less tasty cheese. Rinse the cashews and throw away the soaking water.
Picture
Blend all the ingredients together in a high-powered blender or food processor. I use the small cup on my Nutribullet. You need to keep stopping to scrape the cheese down off the sides of the blender cup, but don’t be tempted to add more liquid as it will result in a cream rather than a cream cheese. If you’re having difficult with it, add an extra teaspoon of lemon juice only.
Picture
​That’s it! You have your cream cheese base! 
Picture
CREAM CHEESE READY FOR ADD-INS
​Now for the fun part!
Your cheese is ready for add-ins. Here you can go to town and add what you like. If you’re experimenting, the basic recipe makes about 1 & 1/3 cup of cream cheese so if you divide the mixture into 4 equal amounts you can try out 4 different recipes with one batch.  
​There are really no limits to what you can add to cashew cream cheese, but here are some of my favourites.
​
These add-ins are for 1/3 cup of cream cheese that fits nicely into a ramekin.
Roasted Red Pepper & Roasted Garlic
  • 1 quarter of a roasted red pepper
  • 1 teaspoon roasted garlic
Picture
ROASTED RED PEPPER & GARLIC
Roasted Garlic & Chives
  • 1 teaspoon roasted garlic
  • 1 teaspoon chopped chives
  • Pinch of sea salt
Picture
ROASTED GARLIC & CHIVES
​Mediterranean
  • 1 tablespoon chopped, pitted green olives
  • 1 tablespoon chopped, pitted black olives
  • 1 teaspoon chopped sundried tomatoes
Garnish with a few slices of olives and a sprinkling of oregano.
Picture
MEDITERRANEAN
Herbes de Provence
  • 2 teaspoons Herbes de Provence
Picture
Chives
  • 2 teaspoons chopped chives (fresh or dried)
Picture
CHIVES
Paprika
  • 1 teaspoon paprika
Picture
PAPRIKA
Spring Onion
  • 2 tablespoons chopped spring onions
Picture
​What are YOUR favourites? Drop me a line and let me know!
1 Comment

Toasted Hazelnut Milk

11/17/2016

2 Comments

 
It’s no secret that I love nuts and so nut milks are a staple in my fridge. Whilst I generally prefer to use raw nuts, I have to say that toasting them does add a lovely flavour!
 
Recipe:
  • ½ cup raw hazelnuts
  • 2 cups water
  • pinch Himalayan salt
  • ¼ teaspoon vanilla extract powder
  • 1 pitted Medjool date (optional)
 
How to:
  1. Put the hazelnuts in a pan and dry roast them on the stove a low heat for a few minutes. Make sure they don’t burn. One way to avoid burning them is by holding the pan just above the heat and rolling the nuts around. If they start popping, it’s a sign that the heat is too high.
  2. Add the water to the blender first and then add the roasted nuts, salt and vanilla extract powder. The Medjool date is optional as this milk is so tasty it doesn’t really need any sweeteners.
  3. Blend in a high-powered blender for 1-2  minutes.
  4. Strain through a nut milk bag or a large piece of cheesecloth.
  5. Squeeze as much of the milk as possible through the cloth.
  6. Store in an airtight bottle or jar in the fridge.
  7. Consume within 2-3 days. 
Picture
Enjoy!
2 Comments

    Hello!

    I'm Nicki Perkins, creator of lovingly plant-based and my passion is helping people adopt a healthful and delicious plant-based lifestyle.
    I'm a certified nutritional counsellor, health coach & EFT practitioner and I believe that a whole food, plant-based diet can be beneficial for our health and for our planet.
    ​This blog is dedicated to helping you on your plant-based journey, with tips and easy-to-follow guides and recipes.
    We truly are what we eat, drink, think and say, so let's take this wonderful journey together, and see what we can achieve. 


    With love & respect,
    Nicki xx


    Picture
    Picture
    Picture

    Archives

    October 2017
    September 2017
    January 2017
    December 2016
    November 2016

    Categories

    All

    RSS Feed

    Lovingly Plant-based
Picture
Home
​About me
Contact
disclaimer.docx

Copyright 2021 Nicki Perkins | www.lovinglyplantbased.com All rights reserved. 
All content, videos and images found on lovinglyplantbased.com may not be reproduced or distributed, unless permitted in writing by Nicki Perkins, lovinglyplantbased.com

​

Photo from .v1ctor Casale.
  • Home
    • Who I am and what I do
    • About me
  • Why Plant-based?
    • Vegan v. Plant-based
    • Protein >
      • What is protein? >
        • Amino acids
      • How much protein do we need?
      • Examples of plant-based protein meals
      • Plant-based protein and athletes
      • Protein FAQs
    • Health >
      • Sugar: The legal drug
      • Vitamin B12
      • Vitamin D
      • Iron
      • Calcium
      • The benefits of eating raw
    • Phytonutrients >
      • What colour is your food?
      • Isothiocyanates and cruciferous vegetables
    • Dr. T. Colin Campbell
    • No dairy?
  • Mind, body and soul coaching programs
  • EFT
    • Rosacea Relief
    • EFT resources
  • SKINCARE
    • Skincare Shop
  • Sprouts and microgreens
    • How to grow sprouts
    • Easy mung bean sprouts
    • Easy lentil sprouts
    • Tips for successful sprouting
    • How to grow microgreens
    • How to grow Wheatgrass >
      • Juicing wheatgrass
  • Recipes
    • Plant milks >
      • Almond milk
      • Amaranth milk
      • Brazil nut milk
      • Buckwheat milk
      • Hazelnut milk
      • Hemp milk
      • Macadamia Nut Milk
      • Quinoa milk
      • Toasted Hazelnut milk
      • Toasted Sesame seed milk
      • Sesame seed milk
    • Dairy-free cheese >
      • Basic Cashew Cream Cheese
      • Roasted Garlic & Red Pepper Cream Cheese
      • Cashew and Spring Onion Cream Cheese
      • Roasted Garlic and Chives Cream Cheese
    • Dairy-free Cultured Cheese >
      • Basic Cultured Cashew Cheese
      • Basic Macadamia Nut Cheese
      • Basic Almond Cheese
      • Cashew Chèvre with Lemon Zest
      • Cashew Boursin
      • Almond Chèvre
      • Lemon Zest Almond Cheese
      • Macadamia and Pear Cheese
    • Raw Vegan Crackers >
      • Sprouted Lentil Crackers
      • Sprouted Black Sesame Crackers
      • Almond and Coconut Crackers
      • Sesame Crackers
      • Coconut & Apple Crackers
      • Spicy Flaxseed Crackers
    • Dips >
      • Zucchini & Hemp Hummus
      • Sweet Potato & Garlic Dip
      • Roasted Cherry Tomato Salsa
      • Spinach & Leek Cashew Dip
      • ​Beetroot, Ginger & Garlic Cashew Dip
      • Chickpea Hummus
      • Raw Parsnip Dip
      • Ginger and Sprouted Sunflower Seed Pâté
    • Dressings
    • Breakfast Ideas >
      • Sorghum, hemp and banana pancakes
      • Carob Amaranth Porridge
      • Apple, Oats, Almond Butter
      • Brown Rice and Apple with Hemp and Brazil nut milk
      • Millet and Buckwheat Blueberry Bread Muffins
      • Sweet Potato & Cinnamon Farinata Pancakes
    • Lunch & dinner ideas >
      • Dhal
      • Chickpea Farinata
      • Potato, onion, zucchini & tomato egg-free frittata
    • Veggie burgers >
      • Sprouted lentil, walnut and brown rice burgers
    • Salads & Raw Food >
      • Cheezy Zucchini Noodles
      • Veggie Rolls
      • Mimi's Street Tacos
      • Crunchy Kale Chips
      • Veggie Nori Rolls
    • Soups >
      • Cauliflower, Red Lentil and Potato Soup
      • Black Bean and Corn Soup
    • Desserts >
      • Chocolate Chickpea Truffles
      • Chocolate Mousse
      • Dark Chocolate, Sweet Potato & Black Bean Brownies
    • Smoothies >
      • Blueberry and Hemp Smoothie
      • Purple Passion
      • Orange Joy Smoothie
      • Sweet and Green Smoothie
      • Pretty & Pink
      • Banana Cacao Surprise
  • How to
    • How to juice
    • How to make Rejuvelac
    • How to make Kombucha
    • How to make Kefir
    • How to make Sauerkraut
    • How to make Kimchi
  • Resources
    • Kitchen makeover
    • Books
    • Videos & Documentaries
  • Blog
  • Contact