BEING UPDATED - pics to be added!
How to grow sprouts
Sprouting is fun & easy
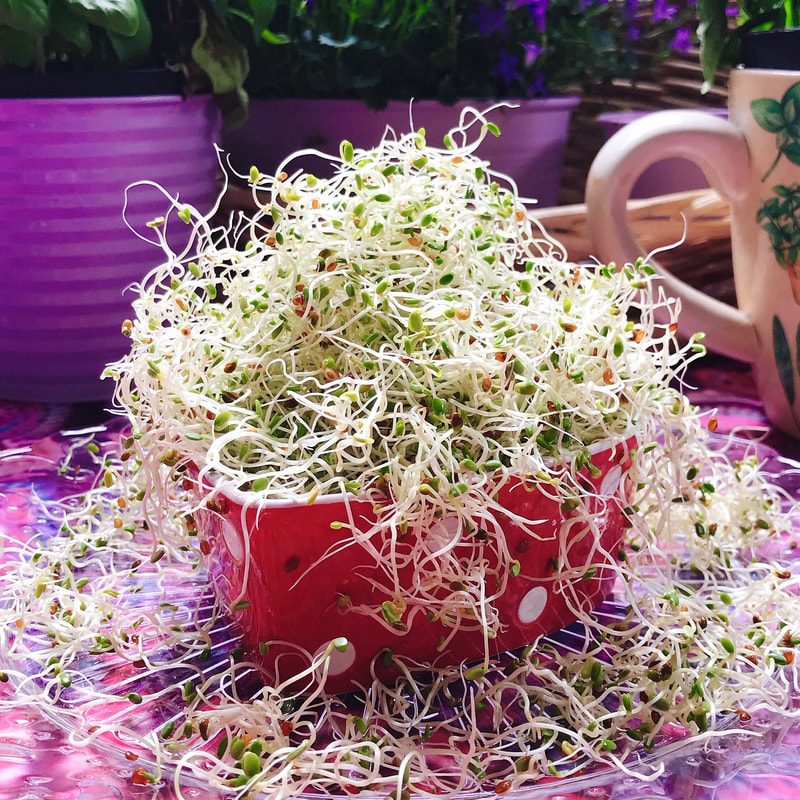
It really is! I still gaze in wonder each morning at the abundance growing in my kitchen!
There are just a few essential steps to follow:
There are just a few essential steps to follow:
Soaking, rinsing & draining
We only have three things to do when it comes to growing sprouts: soaking, rinsing and draining and each one is important. (You have ONE job!)
SOAKING
Dried beans, legumes and seeds need to be woken up in order for them to begin their sprouting journey. This is why we soak them. A dried lentil will stay the way it is for years until the conditions are right for it to sprout and grow. Once it has been activated with moisture and the right temperature, it begins its journey.
Most beans and seeds will be happy with a 6-8-hour soak. I usually leave mine overnight so sometimes they get soaked for anything between 8-12 hours. Occasionally, if I'm soaking during the day, I change the soaking water sometimes more than once, although this isn't necessary.
RINSING
I’m usually pretty diligent when it comes to this part, although I have been known to occasionally forget the evening rinse. During the hot months that’s not a great idea though, as the seeds are likely to dry out. In my opinion larger seeds, such as mung and lentils, are pretty resistant and forgiving and will even survive if you skip a day of rinsing (although I don't recommend it). The smaller seeds might need a little more nurturing.
DRAINING
If seeds end up getting mushy, stinky or nasty, they have probably not been drained well. You wouldn’t like to sit in water all day, would you? Well, nor would sprouts. You don’t need to obsess about this, just make sure that your seeds aren’t sitting in water. If you’re using a sprouting jar with a mesh lid, problem solved - just give the jar a good shake and leave it upside down at an angle so the sprouts can drain properly. If you’re just sprouting in a regular jar, you can turn it upside down on a little sieve, hold it tightly and give it a good shake. Then leave it upside down on the sieve over a bowl for 15 minutes or so. It doesn't matter how you do it, just make sure they get drained properly.
Darkness
Sprouts don't need the light, it's only when they have leaves that they need to green up with some daylight. Not only that, sprouts actually grow better in the dark, thicker and chubbier. I also discovered (after 3 decades of sprouting) that they are sweeter too when we keep them out of the light. So, if I'm sprouting in a glass jar I just put a dark tea-towel around it.
Weighting them down
If you're using a jar then this isn't going to be so easy. If however you're sprouting in a wider container, you can place something heavy on top of the growing sprouts. Don't worry, it won't hurt them, they're a lot stronger than you think! By placing a weight on the seeds, this mimics the struggle they would have to push their way up and out of the soil. The result is bigger sprouts.
The steps
You can sprout beans, legumes, grains, pseudo-grains (quinoa) and seeds and the procedure is basically the same:
- Wash the bean/seeds etc. and leave them to soak in a glass jar of plenty of water.
- Soak them - soaking times vary, depending on the seed. Generally, I leave most seeds (lentils, mung beans, sunflower seeds, broccoli, radish, kale, clover, etc.) to soak about 8-12 hours, or overnight. Mucilaginous seeds (chia, arugula/rocket, cress, basil, etc.) only need to be soaked for about 10 minutes. I soak flax (another mucilaginous seed) for longer. More about them on the Microgreens page.
- Day 1 - Rinse, drain + Resting time to sprout in the dark
- Night 1 - Rinse, drain + Resting time to sprout in the dark
- Day 2 - Rinse, drain + Resting time to sprout in the dark
- Night 2 - Rinse, drain + Resting time to sprout in the dark
- Day 3 - Rinse, drain + Resting time to sprout in the dark
- Night 3 - Rinse, drain + Resting time to sprout in the dark
- Continue until your sprouts are ready!
Sprouting vessel
You can grow sprouts in and on practically anything. A friend recently told me of how he would grow sprouts inside cotton bags tied to his bike while he was on a cycling trip across country. How cool is that?!
There are lots of expensive automatic sprouting machines around but honestly I find I get great results with the simplest things of all. And there's something very meditative about taking care of your sprouts and not just letting a machine water them.
Here are some sprouting vessel ideas:
Cons - Can't think of any! The only issue might be keeping the sprouts in the dark. I use a dark tea-towel to throw over the jar.
Pros - It's not plastic and that's a plus for me. The tray has good air-circulation.
Cons - The sprouts will want to grow their roots through the holes, so if I want to eat the whole sprout, roots and all, I need to move them around a bit. If they grow through the mesh, then when it's time to harvest I just run a sharp knife across the mesh below and cut the roots off. You need a plate below for excess water and another one on top to keep them in the dark. The 'proper' stainless steel sprouting trays (they come with lid and tray underneath) can be quite expensive.
Cons - This is one method I don't use because I don't really have anywhere to hang a dripping bag to drain.
Pros - I love these trays for growing 'microgreen-sprouts' (seeds which grow true leaves but aren't growing on soil). Mung, lentils, radish, sunflower all grow brilliantly on these trays. They're easy to clean and you can stack them on top of each other as weights too.
Cons - They're plastic.
Pros - I love that they're made of terracotta and not plastic, and I love that I'll be able to eat the whole sprouts. The sprouter doesn't take up much room as the trays are stacked. When the sprouts/micros have grown to the point where they're touching the tray above, you can stack them in a way to leave a good-sized gap.
Cons - It's not very big and personally I'd need at least two of them if using nothing else. It's not cheap either, however it's something that will last forever (unless you knock it over and break it!)
Some homemade sprouting vessels:
Pros - Costs nothing as you can use any jar.
Cons - You will need to drain the sprouts on a strainer or something.
Pros - It costs nothing, recycling at its best!
Cons - You need to make sure the pots are clean and make holes in the bottom (I poke a hot skewer through the bottom to make holes.) Unless the pots are big, you won't be able to grow large quantities.
Pros - It costs nothing as you're recycling. You can use different sizes. (I use 1/2 cup beans/legumes for a 1-litre carton and 1/4 cup for 500ml.)
Cons - You can't see what's going on inside the carton and the lack of air-circulation might be an issue. So far though I haven't encountered any problems. (The lid is on but you cut the tabs either side of the carton, so there is some air-circulating.)
There are lots of expensive automatic sprouting machines around but honestly I find I get great results with the simplest things of all. And there's something very meditative about taking care of your sprouts and not just letting a machine water them.
Here are some sprouting vessel ideas:
- Sprouting jars with proper draining lid
Cons - Can't think of any! The only issue might be keeping the sprouts in the dark. I use a dark tea-towel to throw over the jar.
- Stainless steel sprouting trays
Pros - It's not plastic and that's a plus for me. The tray has good air-circulation.
Cons - The sprouts will want to grow their roots through the holes, so if I want to eat the whole sprout, roots and all, I need to move them around a bit. If they grow through the mesh, then when it's time to harvest I just run a sharp knife across the mesh below and cut the roots off. You need a plate below for excess water and another one on top to keep them in the dark. The 'proper' stainless steel sprouting trays (they come with lid and tray underneath) can be quite expensive.
- Cotton bag
Cons - This is one method I don't use because I don't really have anywhere to hang a dripping bag to drain.
- Hydroponic trays
Pros - I love these trays for growing 'microgreen-sprouts' (seeds which grow true leaves but aren't growing on soil). Mung, lentils, radish, sunflower all grow brilliantly on these trays. They're easy to clean and you can stack them on top of each other as weights too.
Cons - They're plastic.
- Terracotta trays
Pros - I love that they're made of terracotta and not plastic, and I love that I'll be able to eat the whole sprouts. The sprouter doesn't take up much room as the trays are stacked. When the sprouts/micros have grown to the point where they're touching the tray above, you can stack them in a way to leave a good-sized gap.
Cons - It's not very big and personally I'd need at least two of them if using nothing else. It's not cheap either, however it's something that will last forever (unless you knock it over and break it!)
Some homemade sprouting vessels:
- Glass jar
Pros - Costs nothing as you can use any jar.
Cons - You will need to drain the sprouts on a strainer or something.
- A couple of clean yoghurt pots
Pros - It costs nothing, recycling at its best!
Cons - You need to make sure the pots are clean and make holes in the bottom (I poke a hot skewer through the bottom to make holes.) Unless the pots are big, you won't be able to grow large quantities.
- A clean and empty almond milk carton
Pros - It costs nothing as you're recycling. You can use different sizes. (I use 1/2 cup beans/legumes for a 1-litre carton and 1/4 cup for 500ml.)
Cons - You can't see what's going on inside the carton and the lack of air-circulation might be an issue. So far though I haven't encountered any problems. (The lid is on but you cut the tabs either side of the carton, so there is some air-circulating.)
Sprouting times
Sprouting times vary; mung beans can be ready to eat within 48 hours in warm weather, but if you leave them for 4 days you get a lovely harvest. I love green lentils around day 5 if grown in the dark, if not, they can become slightly bitter the longer you leave them.
If you're just starting out.....
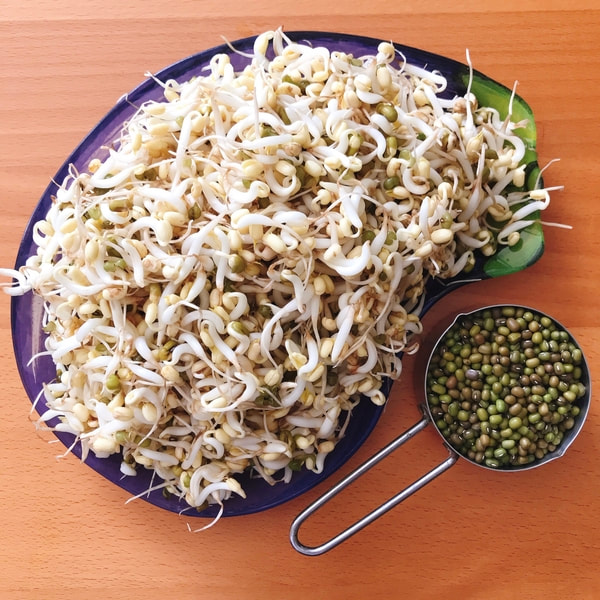
If you’re new to sprouting, start off with mung beans. You simply can’t go wrong with them and they are so quick to grow too, so there's not much waiting involved. Less time to mess things up :)
I have all these sprouts.....what do I do with them??
I prefer to eat them raw and live, but I sometimes cook them. Here are a few ideas:
- Mung bean and lentil sprouts are delicious raw in salads or lightly stir-fried with some tofu and veggies.
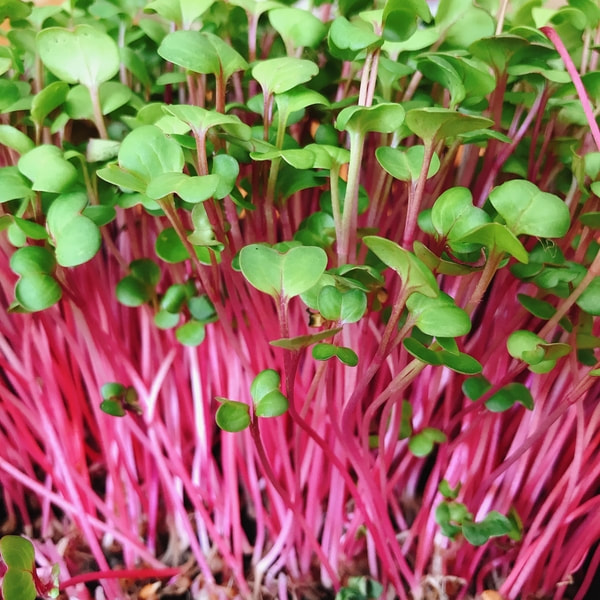
- The more fragile sprouts, such as broccoli and red cabbage, are delicious raw in salads or with fruit but you can put them into soups too. I like to add a handful of raw sprouts to a bowl of soup.
- If you end up with so many sprouts you don’t know what to do with them, put a handful through the juicer, together with a green apple, ½ lemon, a piece of ginger and a few carrots and you’ve got yourself a protein-rich juice.
- In the food processor mix together some 2-3-day-old lentil sprouts with some walnuts, brown rice and some other ingredients (I'll post a recipe soon). Roll the mixture into balls and shape into patties for veggie burgers.
Sprouts and microgreens
Easy mung bean sprouts
Tips for successful sprouting
How to grow microgreens
How to grow wheatgrass
Have fun, experiment and let me know how it goes!
Or join me and other likeminded ladies in my Facebook group, The Plant-based Way to share successes and questions!
Copyright 2021 Nicki Perkins | www.lovinglyplantbased.com All rights reserved.
All content, videos and images found on lovinglyplantbased.com may not be reproduced or distributed, unless permitted in writing by Nicki Perkins, lovinglyplantbased.com
All content, videos and images found on lovinglyplantbased.com may not be reproduced or distributed, unless permitted in writing by Nicki Perkins, lovinglyplantbased.com


