Lovingly Plantbased
  • Home
    • Who I am and what I do
    • About me
  • Why Plant-based?
    • Vegan v. Plant-based
    • Protein >
      • What is protein? >
        • Amino acids
      • How much protein do we need?
      • Examples of plant-based protein meals
      • Plant-based protein and athletes
      • Protein FAQs
    • Health >
      • Sugar: The legal drug
      • Vitamin B12
      • Vitamin D
      • Iron
      • Calcium
      • The benefits of eating raw
    • Phytonutrients >
      • What colour is your food?
      • Isothiocyanates and cruciferous vegetables
    • Dr. T. Colin Campbell
    • No dairy?
  • Mind, body and soul coaching programs
  • EFT
    • Rosacea Relief
    • What can EFT be used for? >
      • Motivation
    • EFT resources
    • EFT prices
  • SKINCARE
    • Skincare Shop
  • Sprouts and microgreens
    • How to grow sprouts
    • Easy mung bean sprouts
    • Easy lentil sprouts
    • Tips for successful sprouting
    • How to grow microgreens
    • How to grow Wheatgrass >
      • Juicing wheatgrass
  • Recipes
    • Plant milks >
      • Almond milk
      • Amaranth milk
      • Brazil nut milk
      • Buckwheat milk
      • Hazelnut milk
      • Hemp milk
      • Macadamia Nut Milk
      • Quinoa milk
      • Toasted Hazelnut milk
      • Toasted Sesame seed milk
      • Sesame seed milk
    • Dairy-free cheese >
      • Basic Cashew Cream Cheese
      • Roasted Garlic & Red Pepper Cream Cheese
      • Cashew and Spring Onion Cream Cheese
      • Roasted Garlic and Chives Cream Cheese
    • Dairy-free Cultured Cheese >
      • Basic Cultured Cashew Cheese
      • Basic Macadamia Nut Cheese
      • Basic Almond Cheese
      • Cashew Chèvre with Lemon Zest
      • Cashew Boursin
      • Almond Chèvre
      • Lemon Zest Almond Cheese
      • Macadamia and Pear Cheese
    • Raw Vegan Crackers >
      • Sprouted Lentil Crackers
      • Sprouted Black Sesame Crackers
      • Almond and Coconut Crackers
      • Sesame Crackers
      • Coconut & Apple Crackers
      • Spicy Flaxseed Crackers
    • Dips >
      • Zucchini & Hemp Hummus
      • Sweet Potato & Garlic Dip
      • Roasted Cherry Tomato Salsa
      • Spinach & Leek Cashew Dip
      • ​Beetroot, Ginger & Garlic Cashew Dip
      • Chickpea Hummus
      • Raw Parsnip Dip
      • Ginger and Sprouted Sunflower Seed Pâté
    • Dressings
    • Breakfast Ideas >
      • Sorghum, hemp and banana pancakes
      • Carob Amaranth Porridge
      • Apple, Oats, Almond Butter
      • Brown Rice and Apple with Hemp and Brazil nut milk
      • Millet and Buckwheat Blueberry Bread Muffins
      • Sweet Potato & Cinnamon Farinata Pancakes
    • Lunch & dinner ideas >
      • Dhal
      • Chickpea Farinata
      • Potato, onion, zucchini & tomato egg-free frittata
    • Veggie burgers >
      • Sprouted lentil, walnut and brown rice burgers
    • Salads & Raw Food >
      • Cheezy Zucchini Noodles
      • Veggie Rolls
      • Mimi's Street Tacos
      • Crunchy Kale Chips
      • Veggie Nori Rolls
    • Soups >
      • Cauliflower, Red Lentil and Potato Soup
      • Black Bean and Corn Soup
    • Desserts >
      • Chocolate Chickpea Truffles
      • Chocolate Mousse
      • Dark Chocolate, Sweet Potato & Black Bean Brownies
    • Smoothies >
      • Blueberry and Hemp Smoothie
      • Purple Passion
      • Orange Joy Smoothie
      • Sweet and Green Smoothie
      • Pretty & Pink
      • Banana Cacao Surprise
  • How to
    • How to juice
    • How to make Rejuvelac
    • How to make Kombucha
    • How to make Kefir
    • How to make Sauerkraut
    • How to make Kimchi
  • Resources
    • Kitchen makeover
    • Books
    • Videos & Documentaries
  • Blog
  • Contact

Rejuvelac

Probiotic tonic

Rejuvelac

​Rejuvelac is a probiotic tonic that you can’t buy in stores but is easily made at home. In fact, out of all the probiotic drinks, rejuvelac is probably the easiest to make. All you need is a large jar, some quinoa or wheat berries and some filtered water.
It has a clean, lemony, tangy, somewhat sour flavour that can take a little getting used to if you’ve never tried it before. It is rich in B vitamins, digestive enzymes and friendly bacteria, which is great for gut health, and since 70-80% of the immune system is in our gut, that is good news! Rejuvelac is also great for making cultured cheese. You just use it instead of water and there’s no need for probiotic powder, which can be expensive.
Picture
Ann Wigmore, raw food advocate and founder of the Hippocrates Health Institute, invented this probiotic beverage. It’s apparently based on a Romanian recipe for bors, (pronounced “borsh”) which is made from fermented wheat bran.
The original rejuvelac recipe calls for wheat berries (grains), but you can also use other grains such as rye, barley, millet and pseudo-grains like quinoa. I usually use quinoa because it’s quick to sprout and gluten-free. 
​Making rejuvelac is very simple. There are just 4 steps:
 
Step 1: Rinse and then soak the grains for about 8 hours or overnight.
Step 2: Sprout the grains for 1-3 days (depending on the grain and the temperature of the ambient)
Step 3: Leave the sprouted grains in a jar of water for 2-3 days
Step 4: Strain into a clean jar or bottle with a lid and store in the fridge.
That’s it.
If you’re just trying this for the first time, start with a small quantity. ​Here is a more detailed description:
  • Rinse and then soak ½ cup of quinoa (100g) or wheat berries for 8 hours or overnight.
  • Drain the grains and rinse them well.
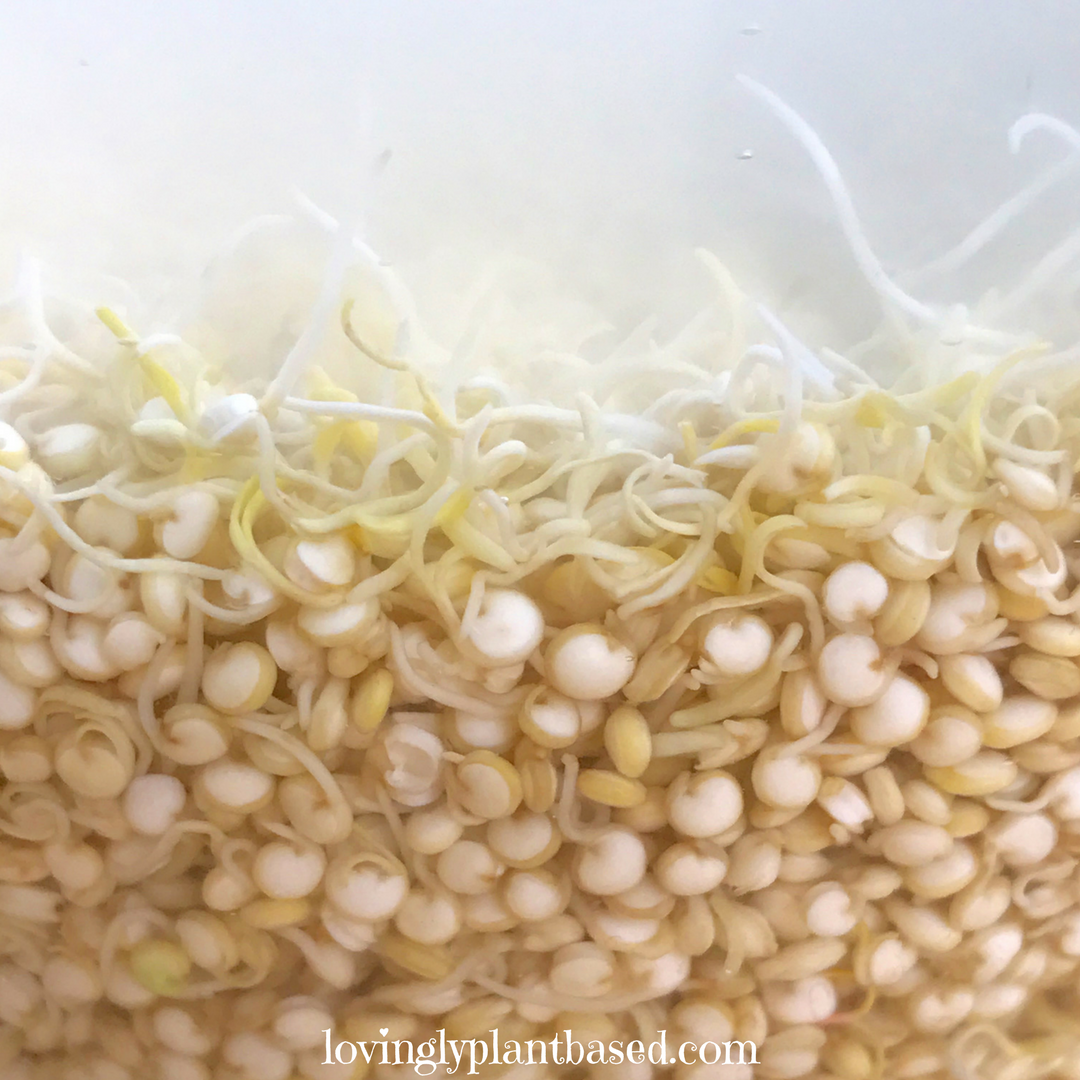
  • Put them in a sprouting jar or glass bowl and cover with a mesh lid or something breathable, such as a piece of cheesecloth. They should be damp but not sitting in water.
  • Rinse the grains twice a day, morning and evening. Always drain well.
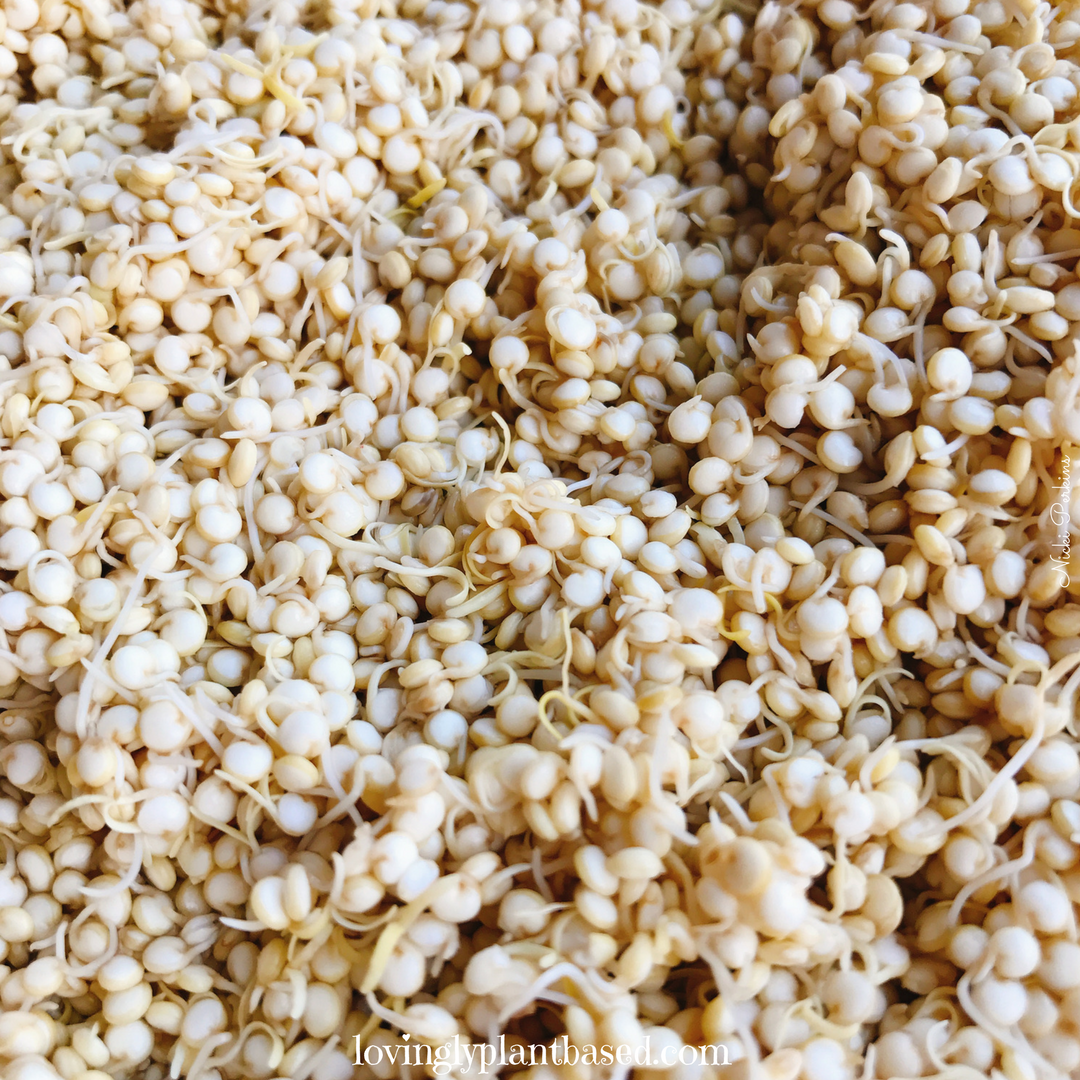
After about 2 days (depending on the temperature of the room) the grains will have sprouted little tails. Now they are ready. Quinoa sprouts will be ready in 1-2 days, wheat berries will take a little longer. Whichever grain you use, when it has a tail about the size of its body, it’s ready. If the sprouts get a bit longer, that’s fine too. 
Picture
Sprouted quinoa
  • Put the sprouted grains in a jar with 2 cups (500ml) of room temperature filtered water. It must be non-chlorinated. Personally I use mineral water.
  • Cover the jar with a piece of cheesecloth or paper towel and secure with a rubber band.
  • Leave the jar on your countertop and just let the sprouts do their thing!
Picture
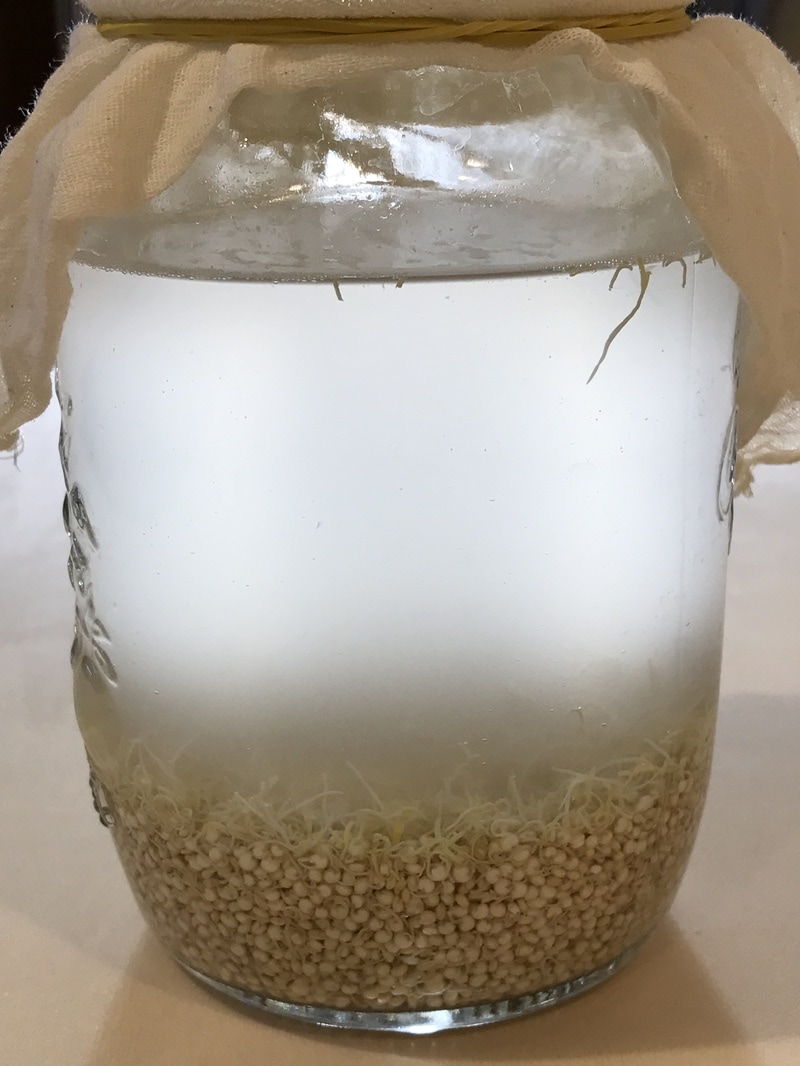
Quinoa sprouts in water
You will notice that the water becomes cloudy and there might be bubbles.
After a couple of days taste the rejuvelac by taking out a little with a clean spoon. It should have a tart, lemony taste to it. If you want it stronger, leave it another day and taste again.
Usually 2-3 days is enough, but this depends on the temperature of the room. The colder it is, the longer it will take. 
Picture
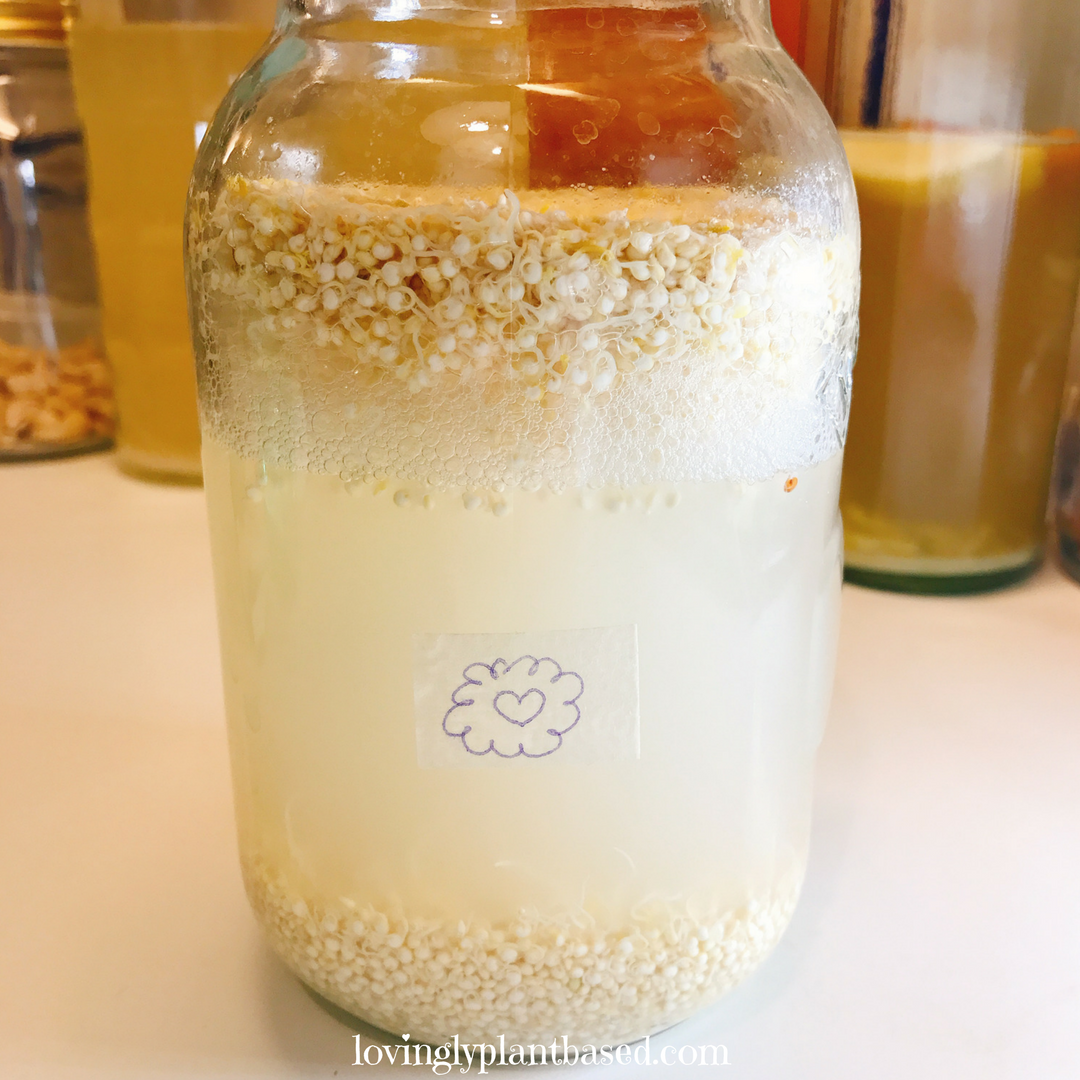
Rejuvelac ready to be strained
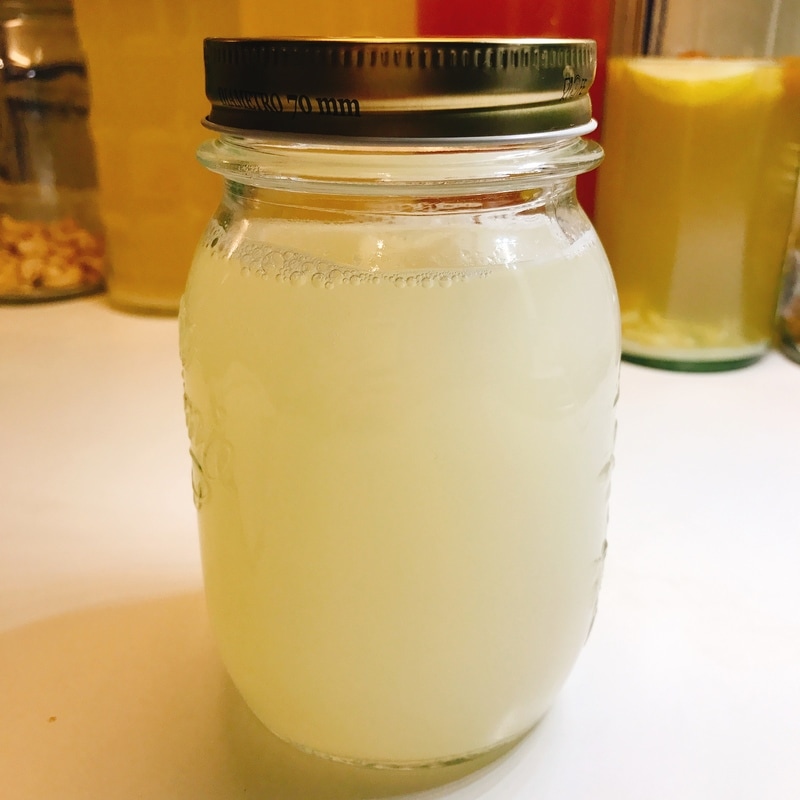
Picture
It's ready!
 When the rejuvelac is ready, strain the liquid into a bottle or jar with a lid, close it tightly and store it in the fridge.
Consume the rejuvelac within 2 weeks. Bear in mind that it will get stronger in taste even when in the fridge. I prefer to consume mine within a week. Some people keep theirs for up to 4 weeks.
If you are new to fermented foods and drinks, start off slowly and drink only a small amount per day. This is a tonic and so it should be consumed as such. Your gut needs to get used to it. Too much of a good thing does exist, especially in the beginning. ​
Picture
Troubleshooting:
  • Make sure you use organic grains that haven't been heat-treated, otherwise they won't sprout.
  • Make sure the jar you use is very clean. You don’t want to introduce bad bacteria to your batch. Always wash with hot, soapy water and rinse well. I usually give my fermenting jars a rinse with vinegar and then rinse.
  • Make sure that you cover the fermenting jar with something clean and breathable, like cheesecloth.
  • It is possible to use the grains a second time for a second fermentation, however, there is more chance of spoilage. I prefer to start over again with new grains.
  • If mould forms on the rejuvelac, throw it away.
  • If it smells offensive, throw it away.
Picture
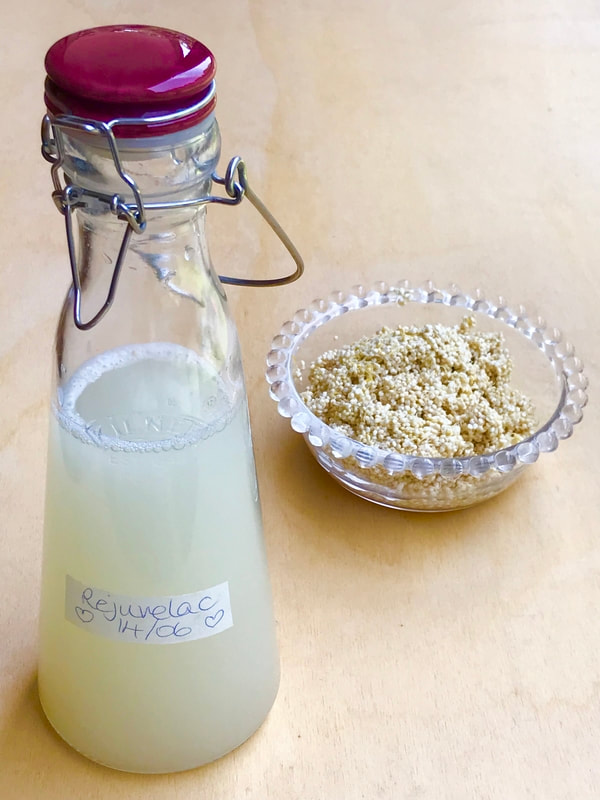
Strained and in a clip-top bottle ready to go into the fridge.

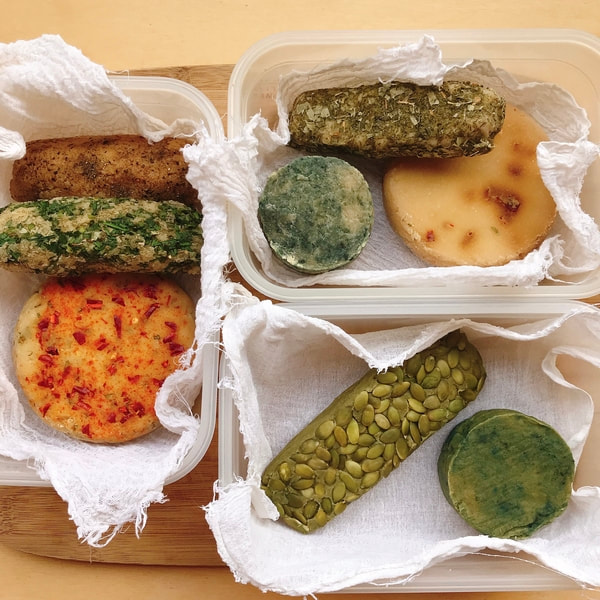
Use the Rejuvelac to make
wonderful cultured raw vegan plant-based cheeses!

Picture
Picture
Home
​About me
Contact
disclaimer.docx

Copyright 2021 Nicki Perkins | www.lovinglyplantbased.com All rights reserved. 
All content, videos and images found on lovinglyplantbased.com may not be reproduced or distributed, unless permitted in writing by Nicki Perkins, lovinglyplantbased.com

​

  • Home
    • Who I am and what I do
    • About me
  • Why Plant-based?
    • Vegan v. Plant-based
    • Protein >
      • What is protein? >
        • Amino acids
      • How much protein do we need?
      • Examples of plant-based protein meals
      • Plant-based protein and athletes
      • Protein FAQs
    • Health >
      • Sugar: The legal drug
      • Vitamin B12
      • Vitamin D
      • Iron
      • Calcium
      • The benefits of eating raw
    • Phytonutrients >
      • What colour is your food?
      • Isothiocyanates and cruciferous vegetables
    • Dr. T. Colin Campbell
    • No dairy?
  • Mind, body and soul coaching programs
  • EFT
    • Rosacea Relief
    • What can EFT be used for? >
      • Motivation
    • EFT resources
    • EFT prices
  • SKINCARE
    • Skincare Shop
  • Sprouts and microgreens
    • How to grow sprouts
    • Easy mung bean sprouts
    • Easy lentil sprouts
    • Tips for successful sprouting
    • How to grow microgreens
    • How to grow Wheatgrass >
      • Juicing wheatgrass
  • Recipes
    • Plant milks >
      • Almond milk
      • Amaranth milk
      • Brazil nut milk
      • Buckwheat milk
      • Hazelnut milk
      • Hemp milk
      • Macadamia Nut Milk
      • Quinoa milk
      • Toasted Hazelnut milk
      • Toasted Sesame seed milk
      • Sesame seed milk
    • Dairy-free cheese >
      • Basic Cashew Cream Cheese
      • Roasted Garlic & Red Pepper Cream Cheese
      • Cashew and Spring Onion Cream Cheese
      • Roasted Garlic and Chives Cream Cheese
    • Dairy-free Cultured Cheese >
      • Basic Cultured Cashew Cheese
      • Basic Macadamia Nut Cheese
      • Basic Almond Cheese
      • Cashew Chèvre with Lemon Zest
      • Cashew Boursin
      • Almond Chèvre
      • Lemon Zest Almond Cheese
      • Macadamia and Pear Cheese
    • Raw Vegan Crackers >
      • Sprouted Lentil Crackers
      • Sprouted Black Sesame Crackers
      • Almond and Coconut Crackers
      • Sesame Crackers
      • Coconut & Apple Crackers
      • Spicy Flaxseed Crackers
    • Dips >
      • Zucchini & Hemp Hummus
      • Sweet Potato & Garlic Dip
      • Roasted Cherry Tomato Salsa
      • Spinach & Leek Cashew Dip
      • ​Beetroot, Ginger & Garlic Cashew Dip
      • Chickpea Hummus
      • Raw Parsnip Dip
      • Ginger and Sprouted Sunflower Seed Pâté
    • Dressings
    • Breakfast Ideas >
      • Sorghum, hemp and banana pancakes
      • Carob Amaranth Porridge
      • Apple, Oats, Almond Butter
      • Brown Rice and Apple with Hemp and Brazil nut milk
      • Millet and Buckwheat Blueberry Bread Muffins
      • Sweet Potato & Cinnamon Farinata Pancakes
    • Lunch & dinner ideas >
      • Dhal
      • Chickpea Farinata
      • Potato, onion, zucchini & tomato egg-free frittata
    • Veggie burgers >
      • Sprouted lentil, walnut and brown rice burgers
    • Salads & Raw Food >
      • Cheezy Zucchini Noodles
      • Veggie Rolls
      • Mimi's Street Tacos
      • Crunchy Kale Chips
      • Veggie Nori Rolls
    • Soups >
      • Cauliflower, Red Lentil and Potato Soup
      • Black Bean and Corn Soup
    • Desserts >
      • Chocolate Chickpea Truffles
      • Chocolate Mousse
      • Dark Chocolate, Sweet Potato & Black Bean Brownies
    • Smoothies >
      • Blueberry and Hemp Smoothie
      • Purple Passion
      • Orange Joy Smoothie
      • Sweet and Green Smoothie
      • Pretty & Pink
      • Banana Cacao Surprise
  • How to
    • How to juice
    • How to make Rejuvelac
    • How to make Kombucha
    • How to make Kefir
    • How to make Sauerkraut
    • How to make Kimchi
  • Resources
    • Kitchen makeover
    • Books
    • Videos & Documentaries
  • Blog
  • Contact